
Knife Skills
Unlock the pure joy of using an MKS Knife with these simple tips.

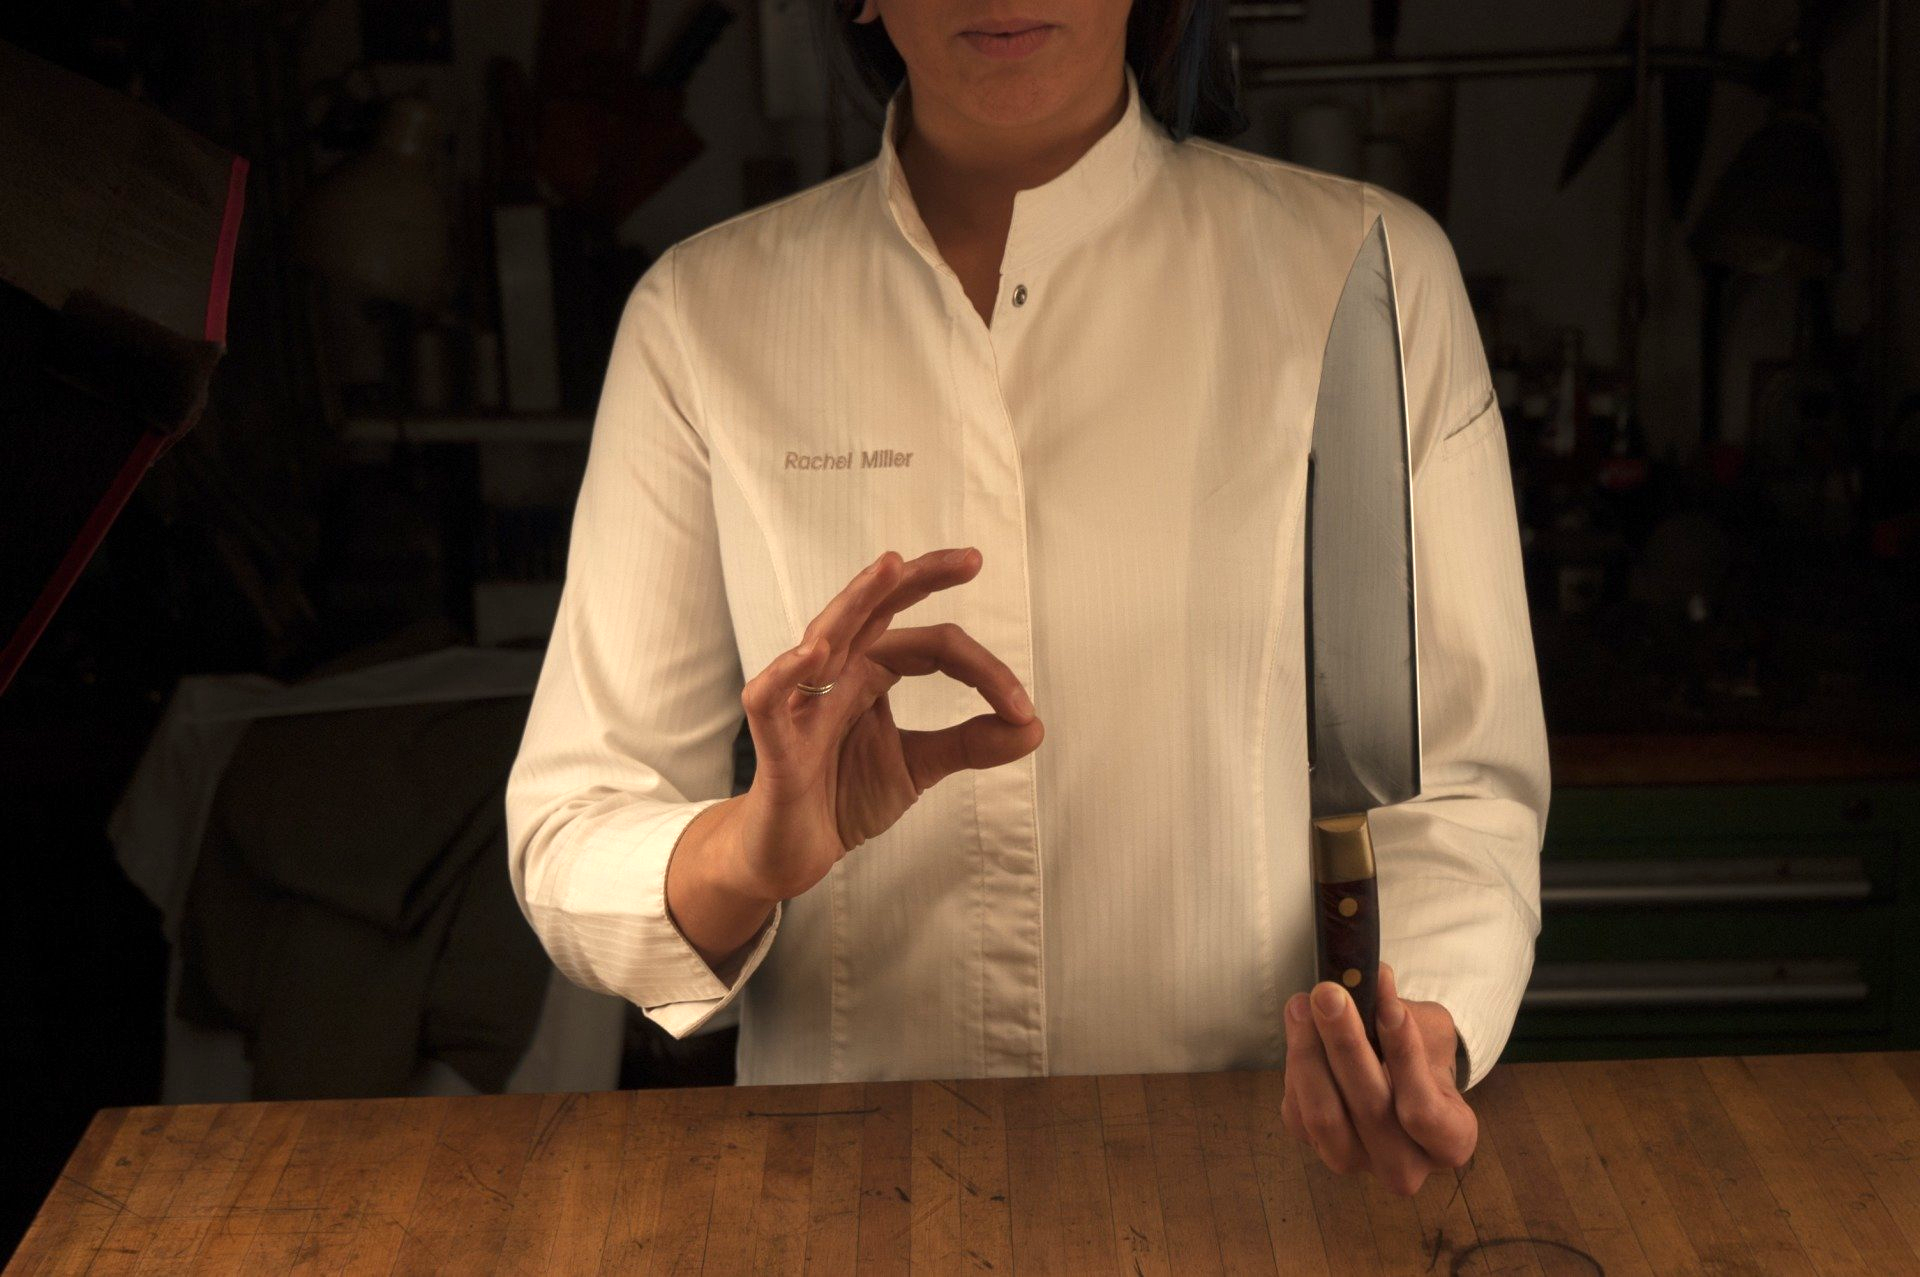
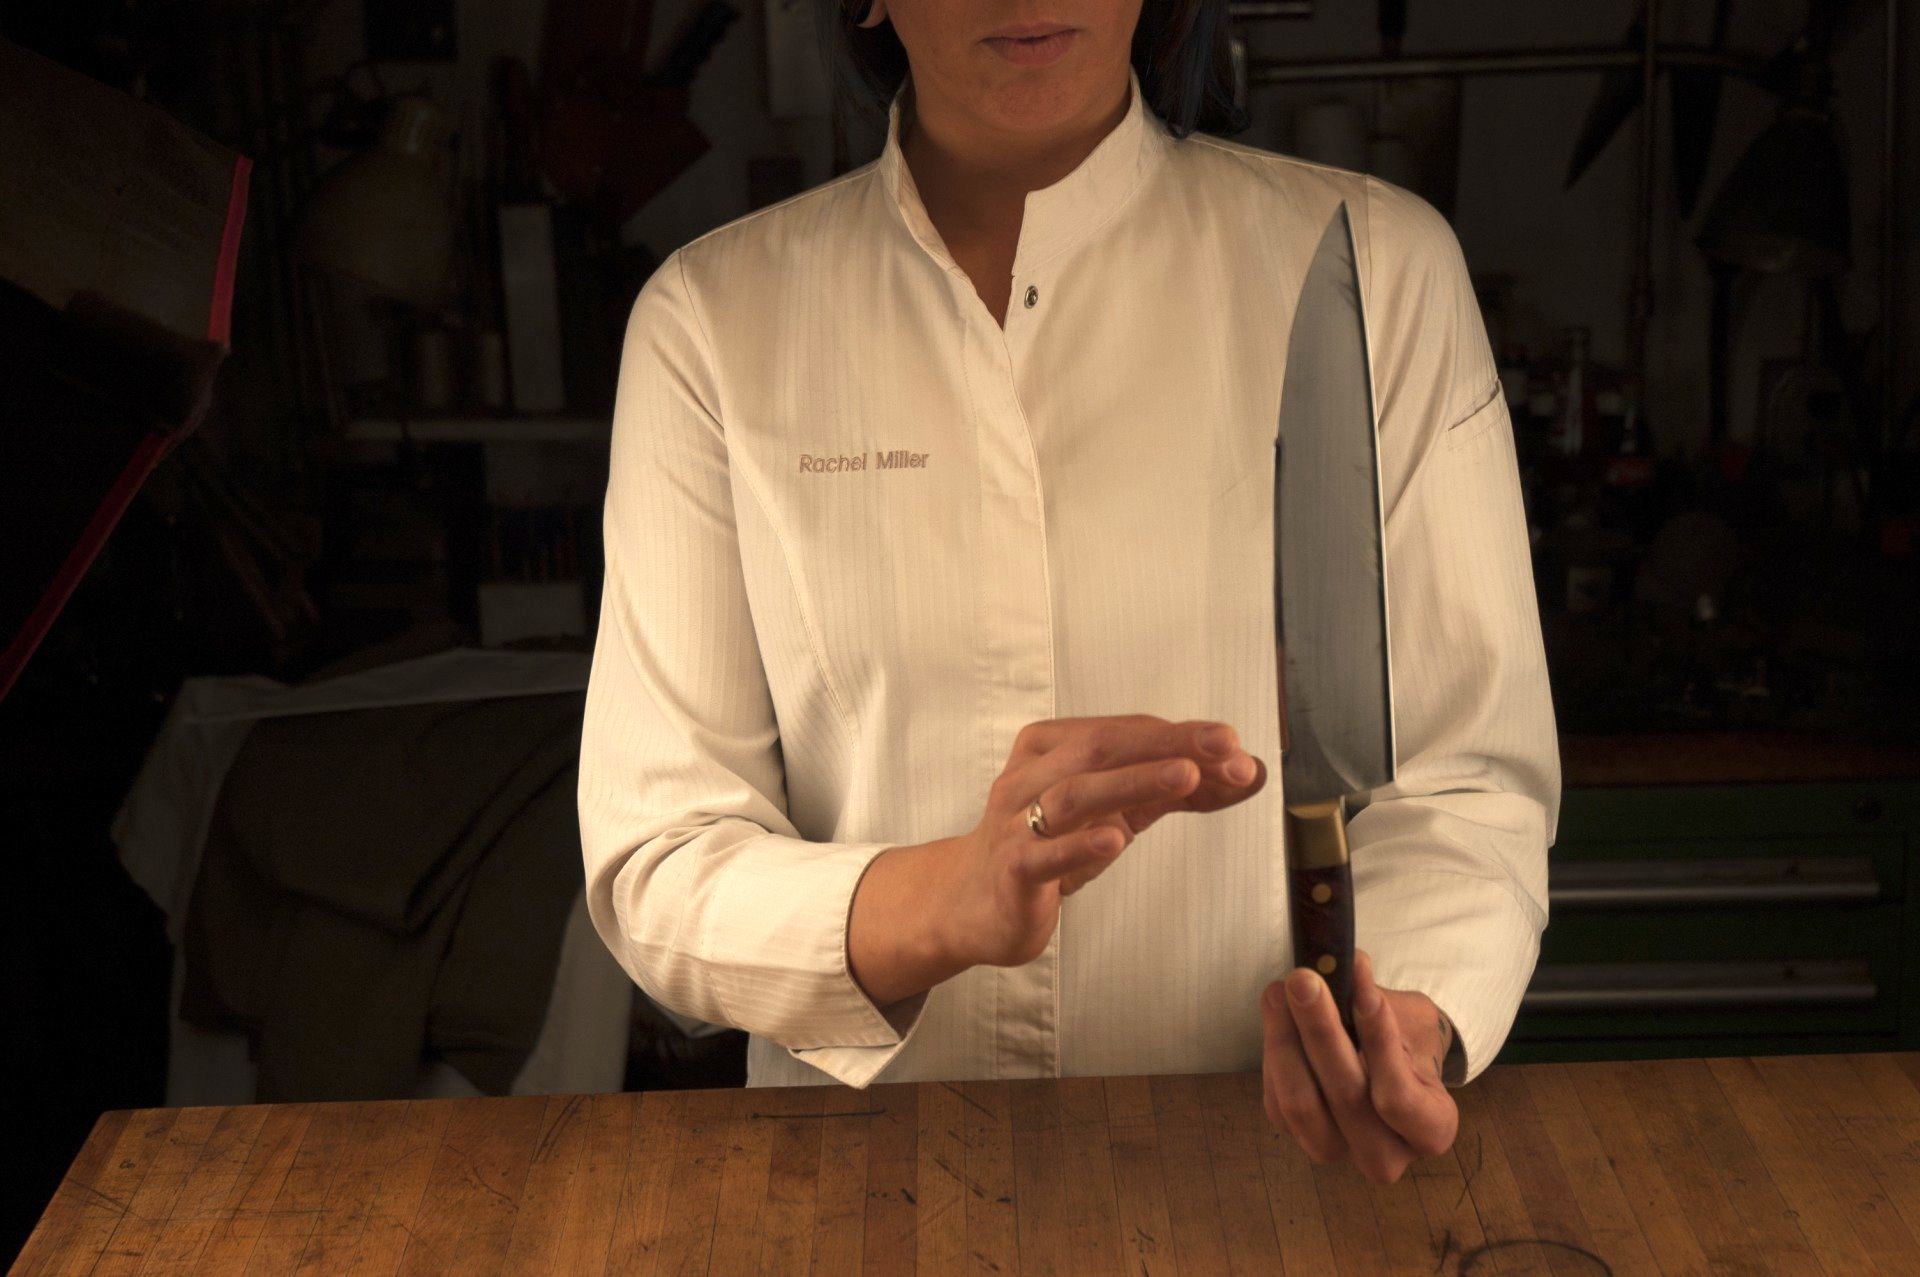
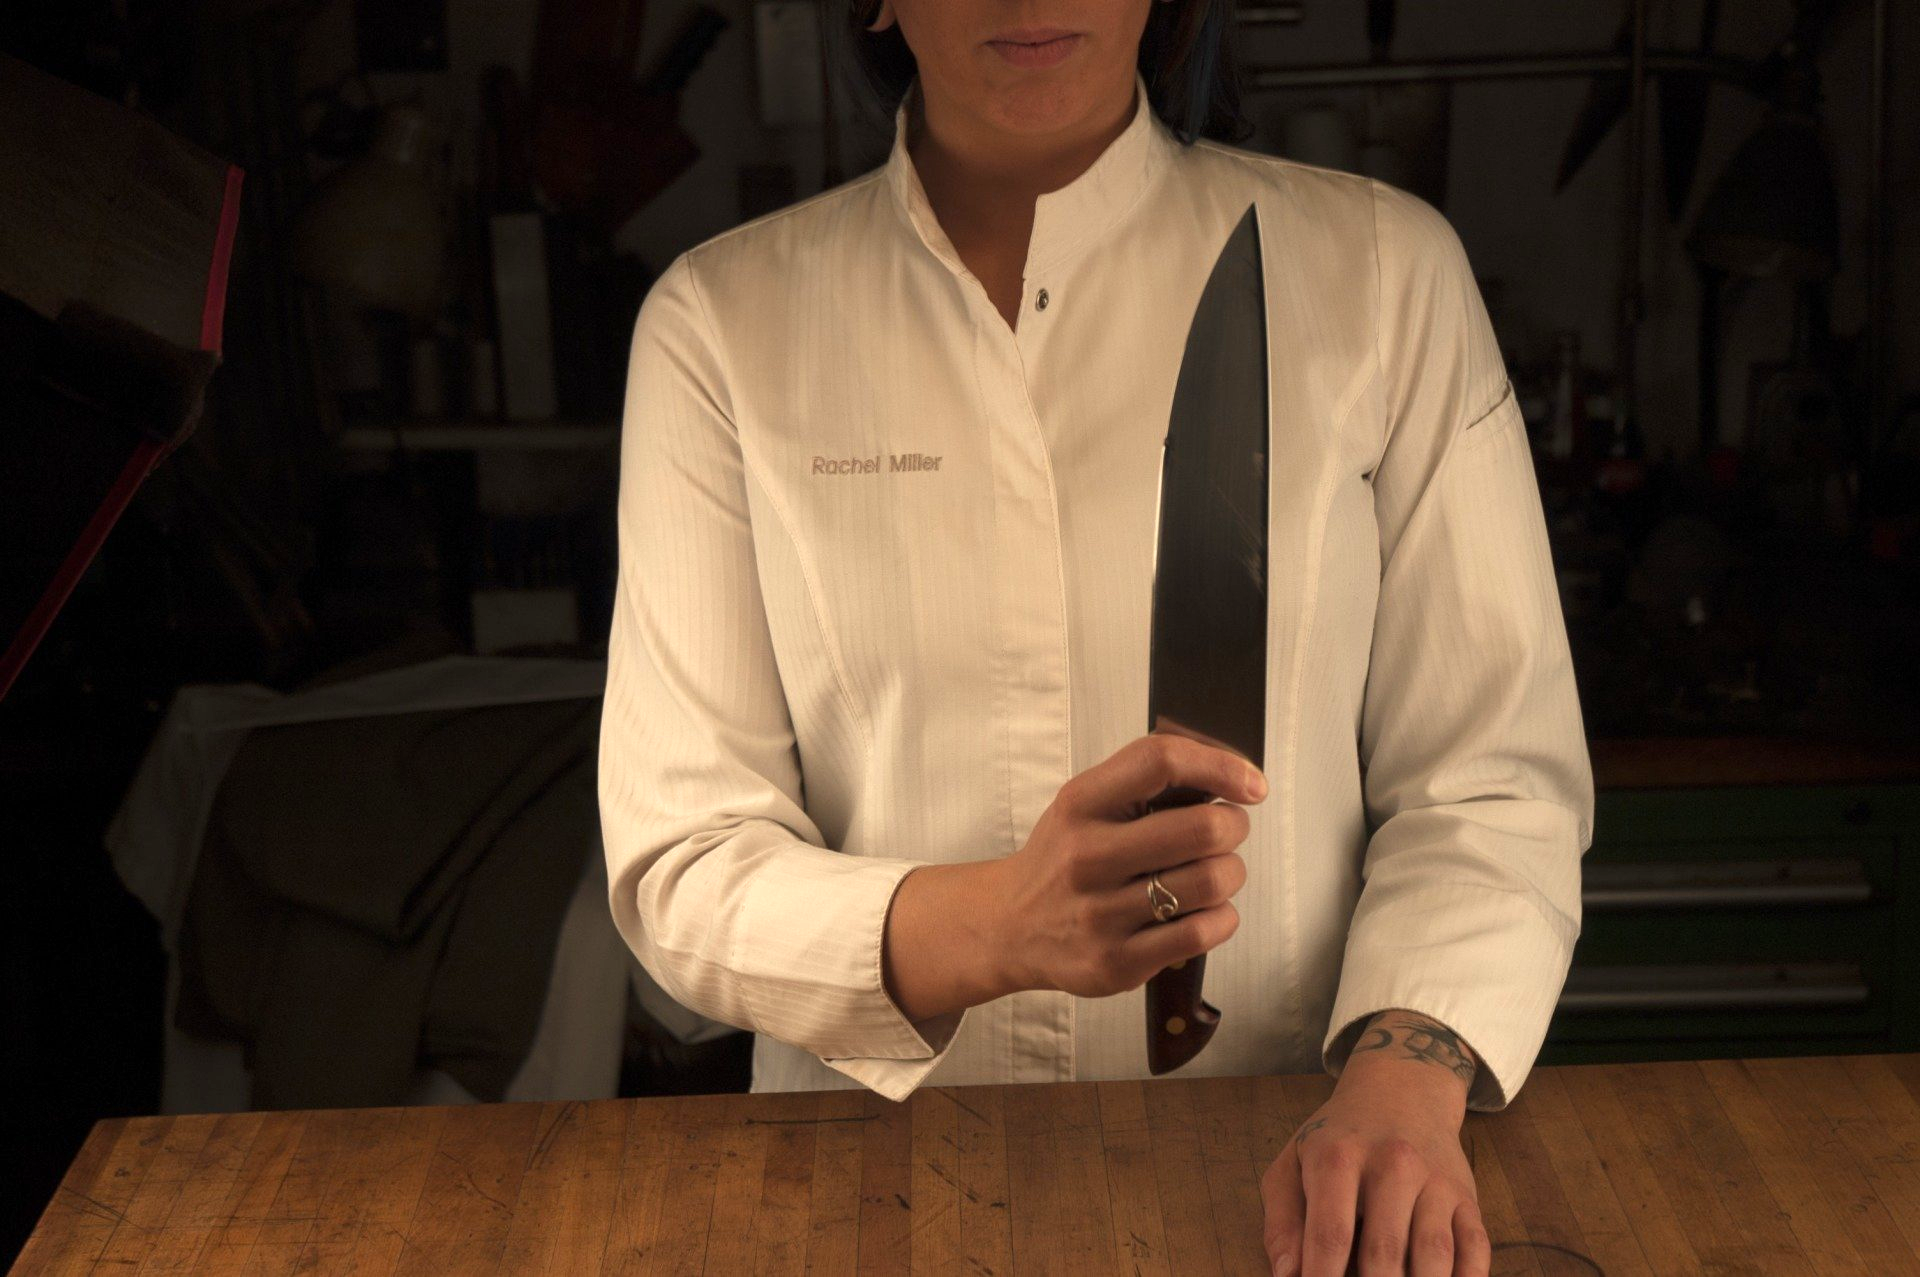
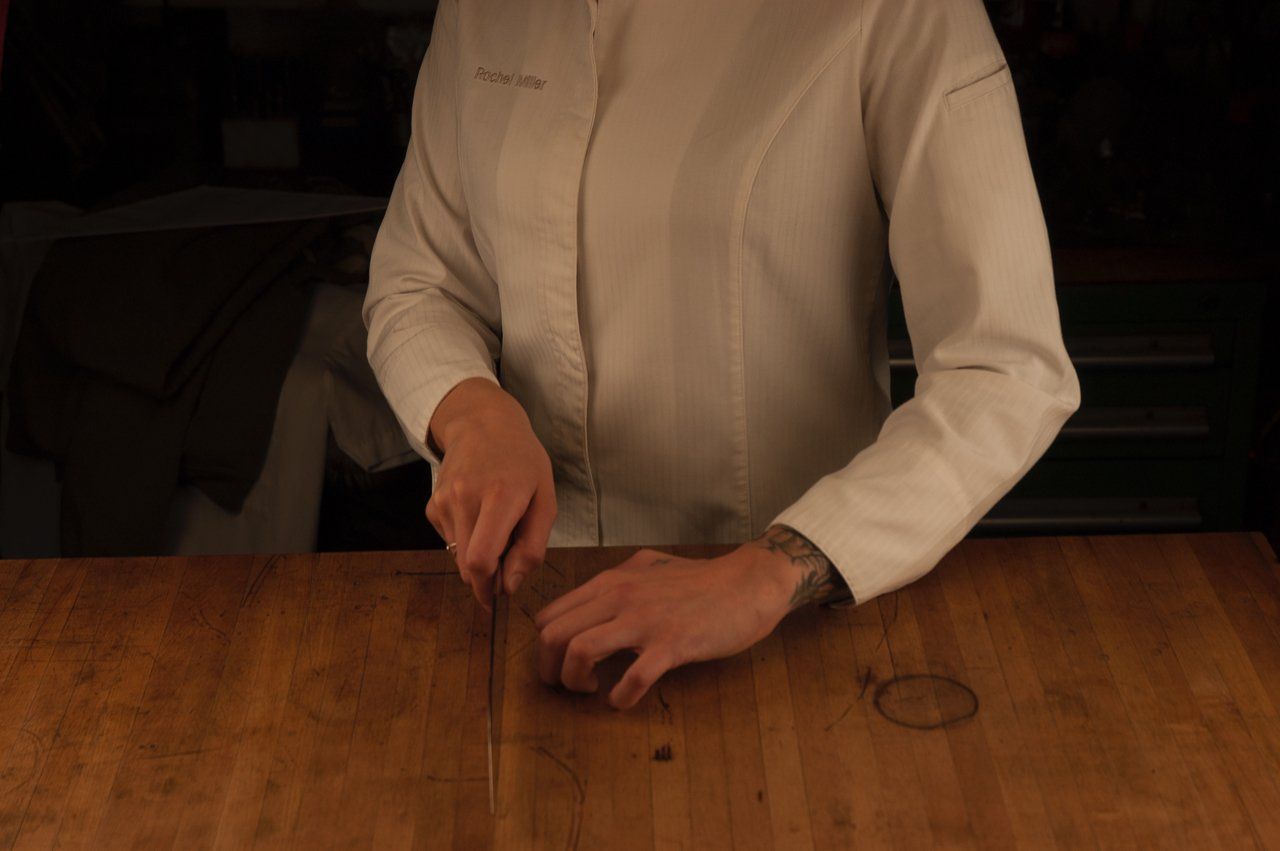
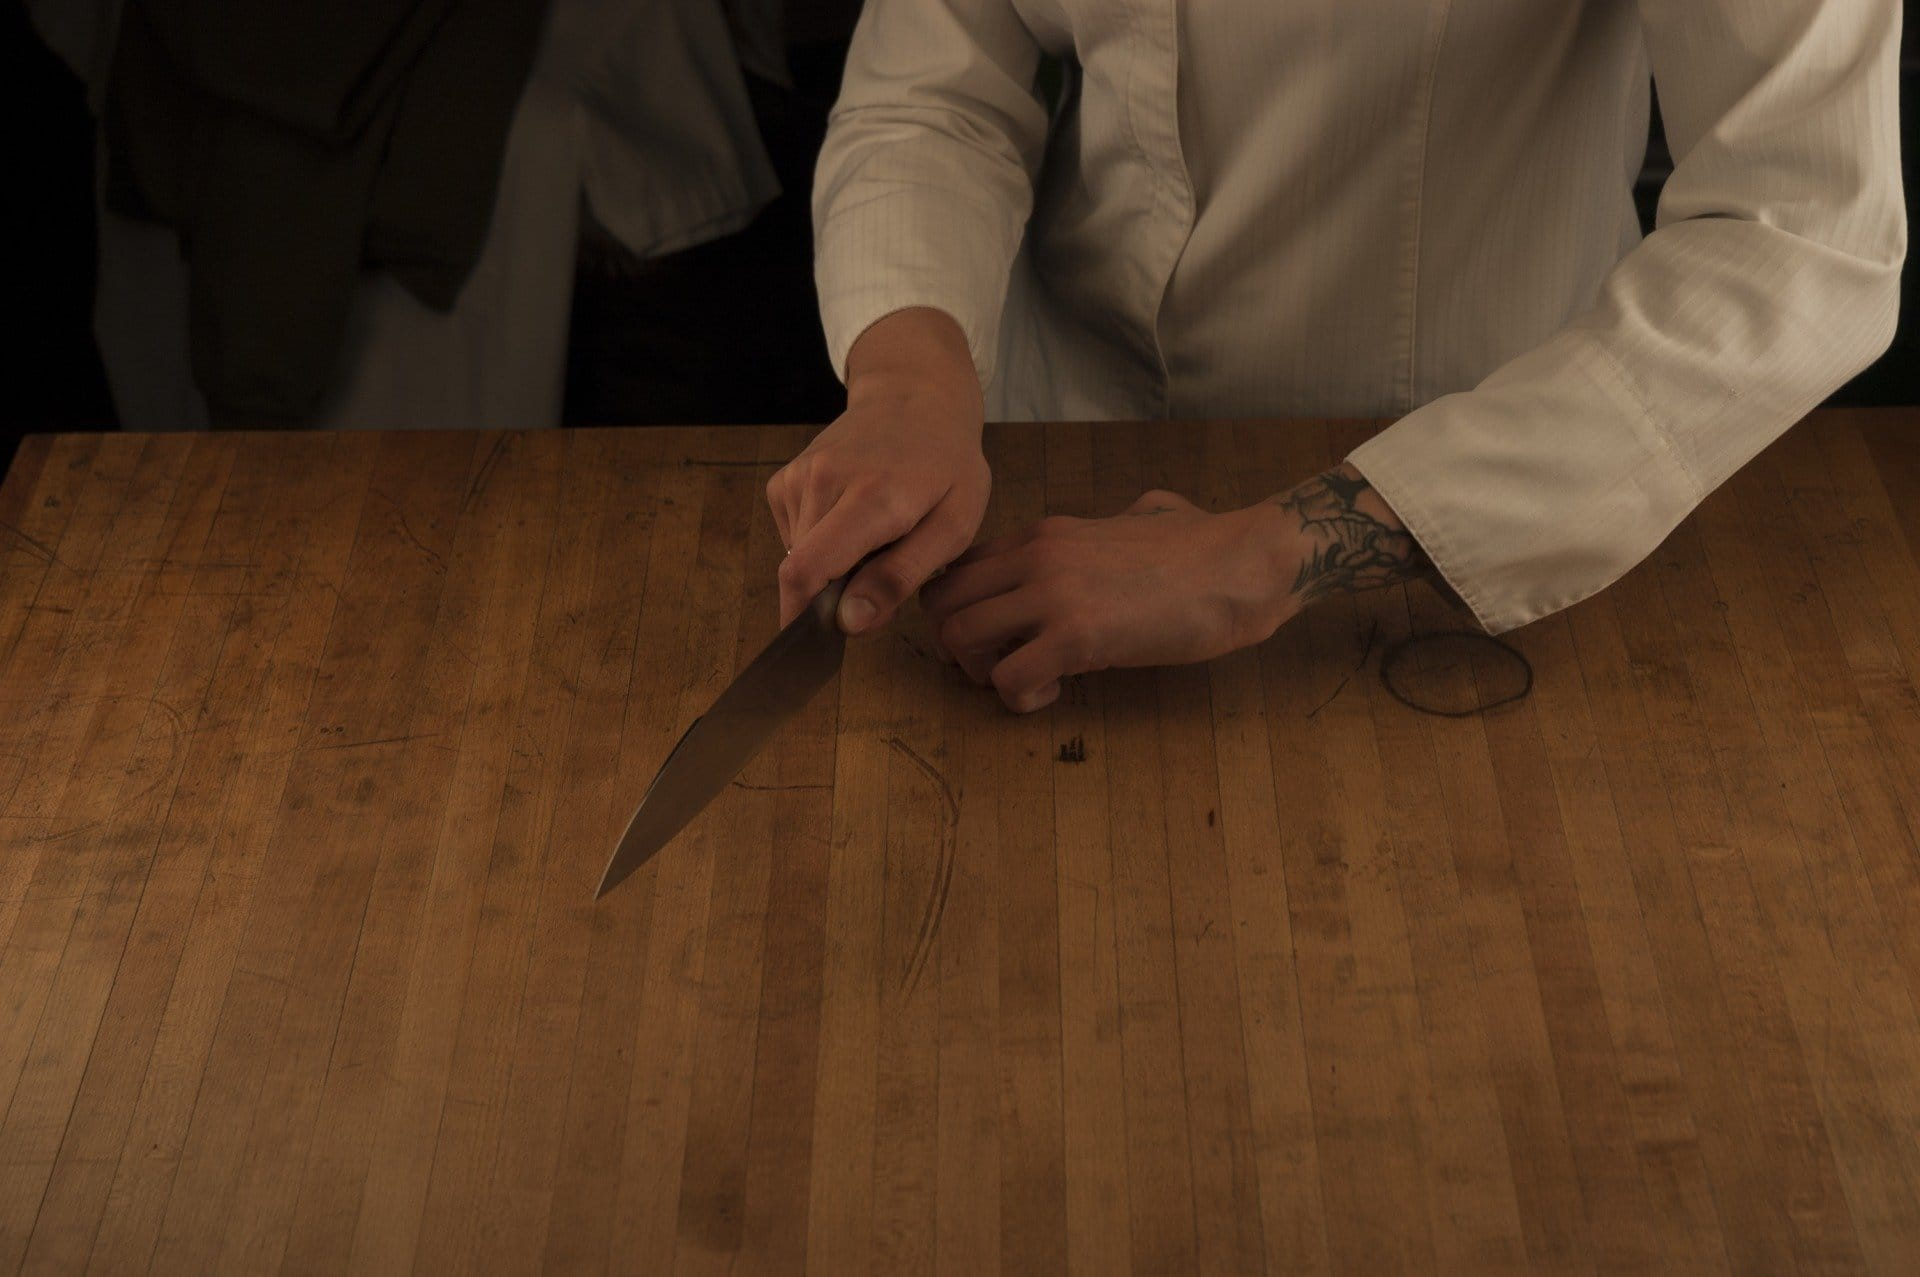
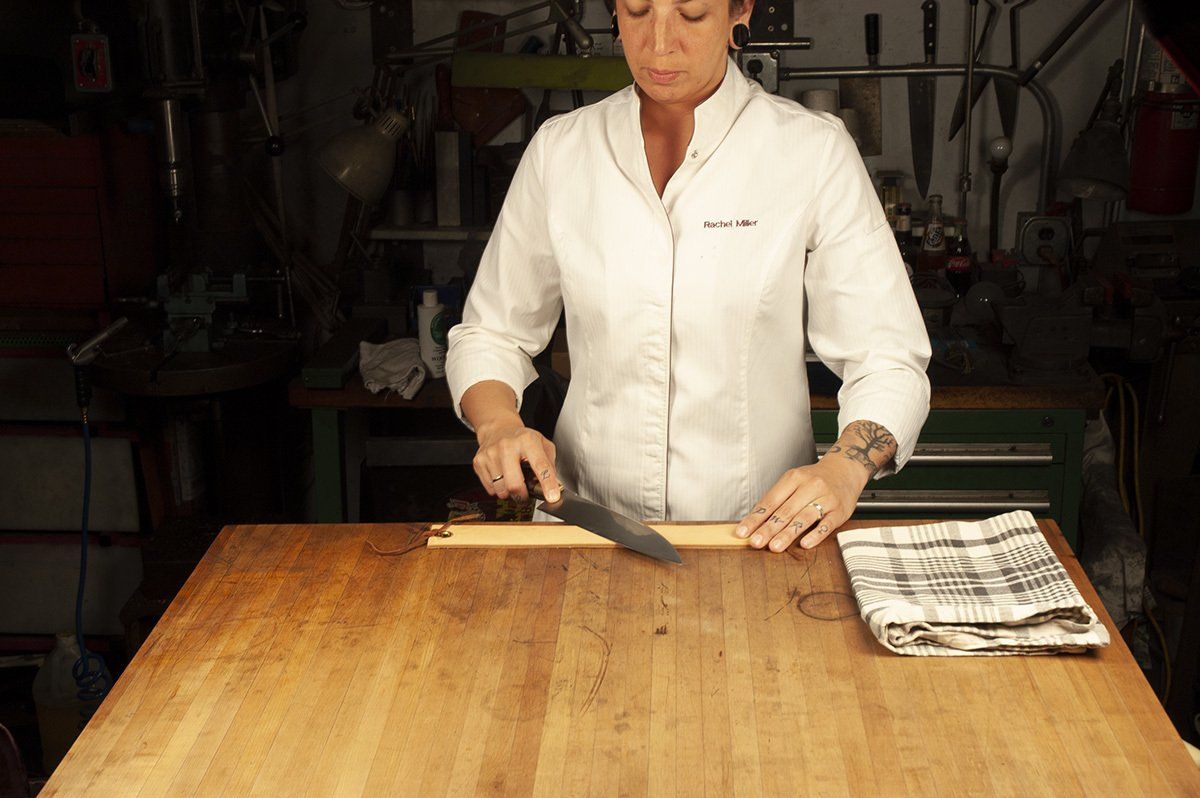
Step 1:Grip (pinch)
Support your knife vertically from the bottom of the handle with your support hand
(the hand opposite your knife hand), edge pointing away
from your knife hand.
While you’re doing that make an ‘OK’ sign with your knife hand.
Now, open up your ‘OK’ sign slightly and pinch the knife at the choil between your thumb and forefinger,
then wrap your other fingers around the handle. Remove your support hand.
Now you’re actually in control of the knife...
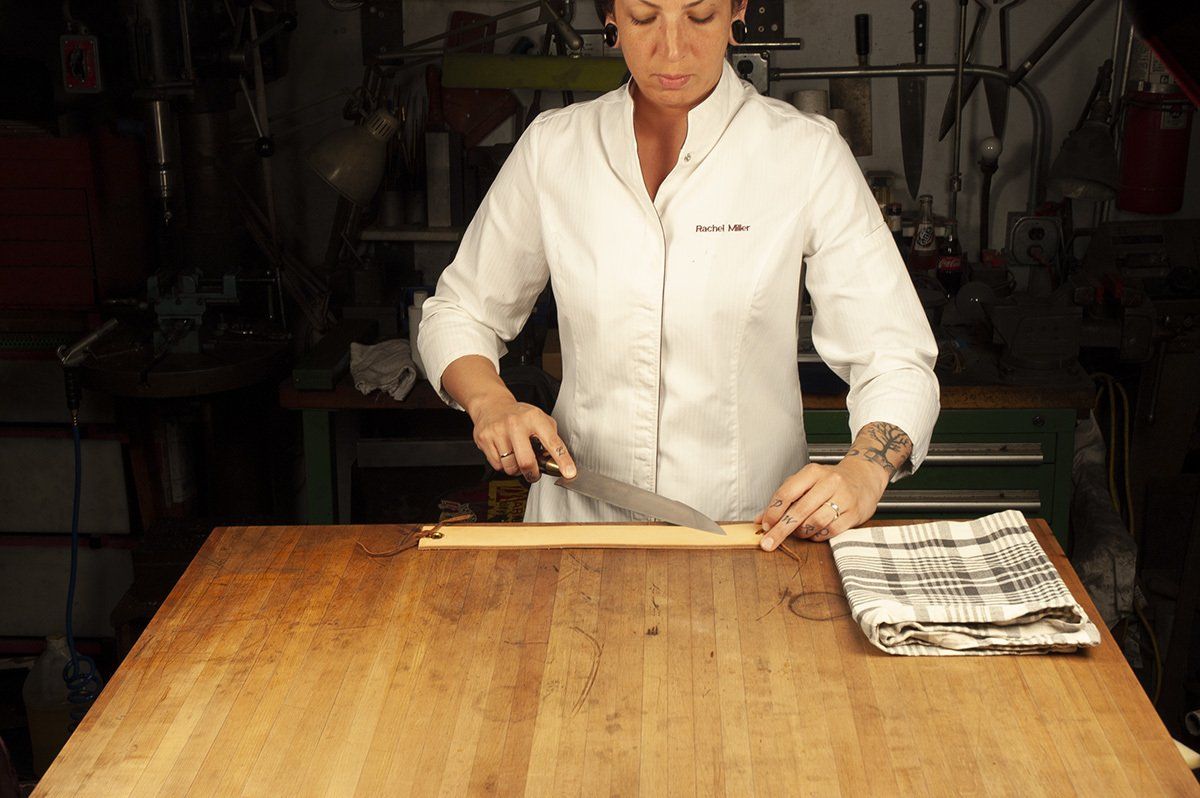
Step 2:Stance
While holding your knife in the pinch grip described above, start with your feet shoulder width apart
and equidistant from the near edge of your cutting board or counter.
Notice your knife hand and arm swing naturally in a diagonal across your path.
Move the foot on the same side as your knife straight back about 3”- 6”. Adjust this foot spacing until your knife
naturally swings perpendicular to the board / counter.
Now your arm is free from having to muscle your knife into line constantly and can move naturally
in a straight line away from you... or back toward you with the greatest ease and range of motion. Allow your hips to turn slightly as your foot moves and bend your knees slightly too.
Understand that anything happening at your cutting board originates at the ground with your feet, through
to your hips, shoulders, arms, hands, fingers, and ultimately your knife.
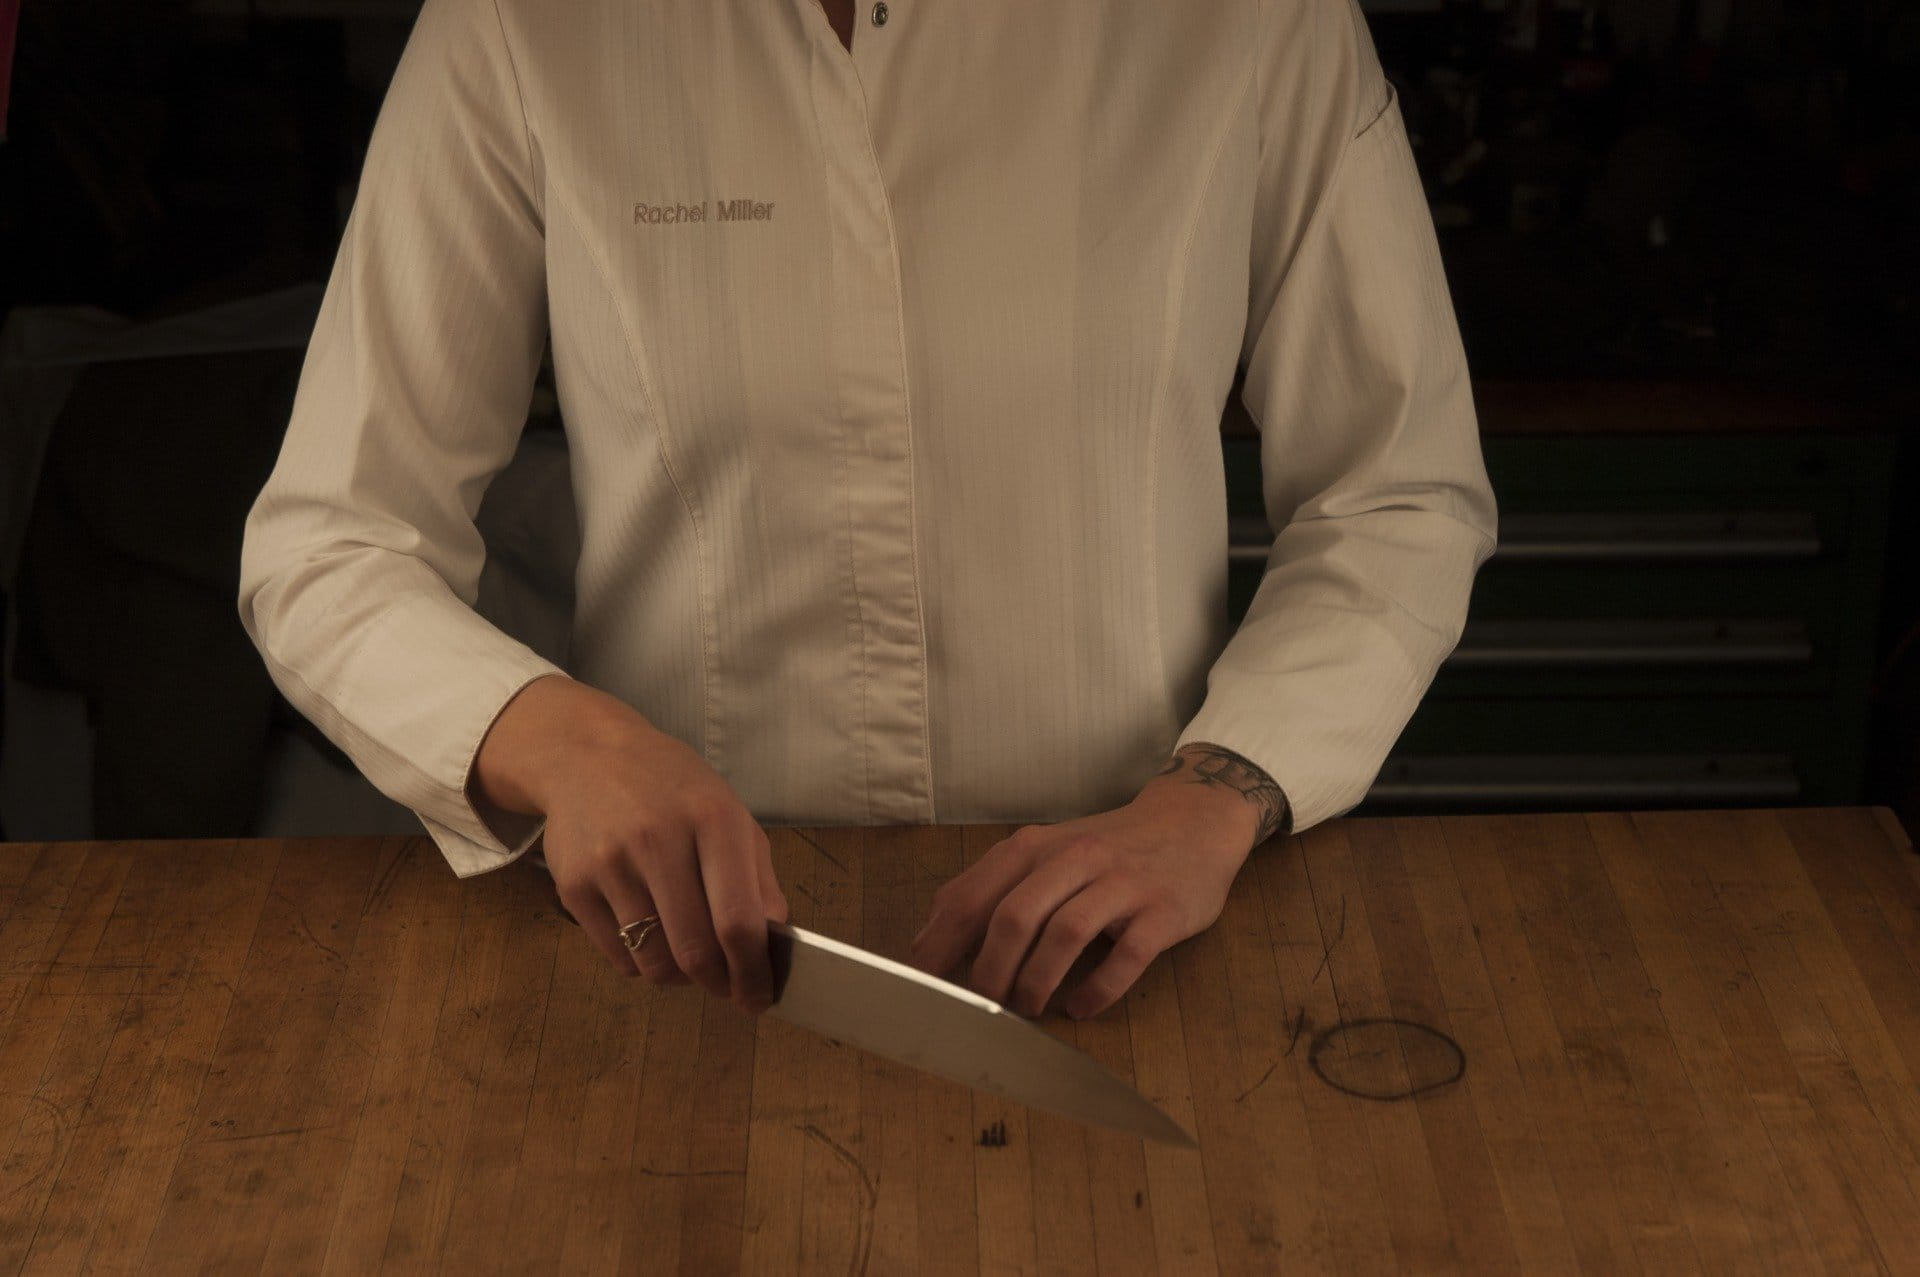
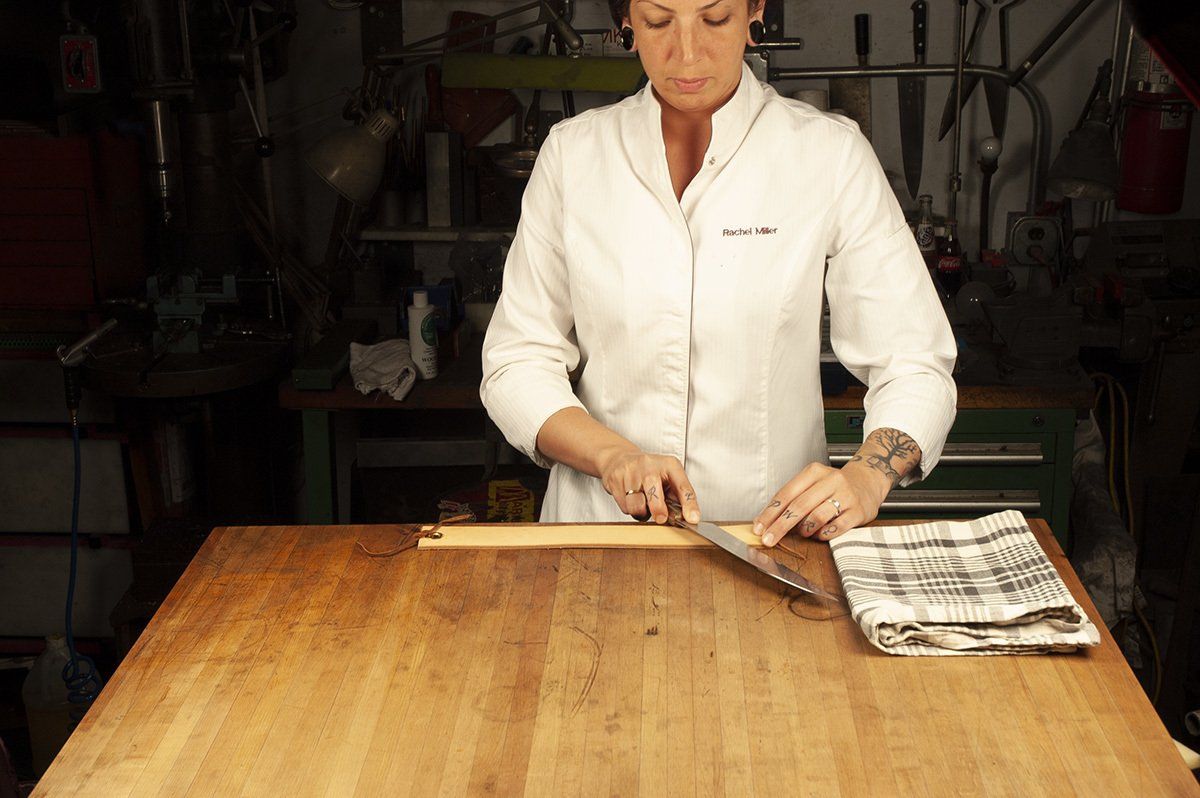
Step 3:Hold (support hand)
Make your support hand into a sort of ‘claw’ by tucking in your fingertips
under your knuckles.
Press your support hand straight down on whatever it is you’re about to cut.
Always keep your fingertips curled under and press straight down.
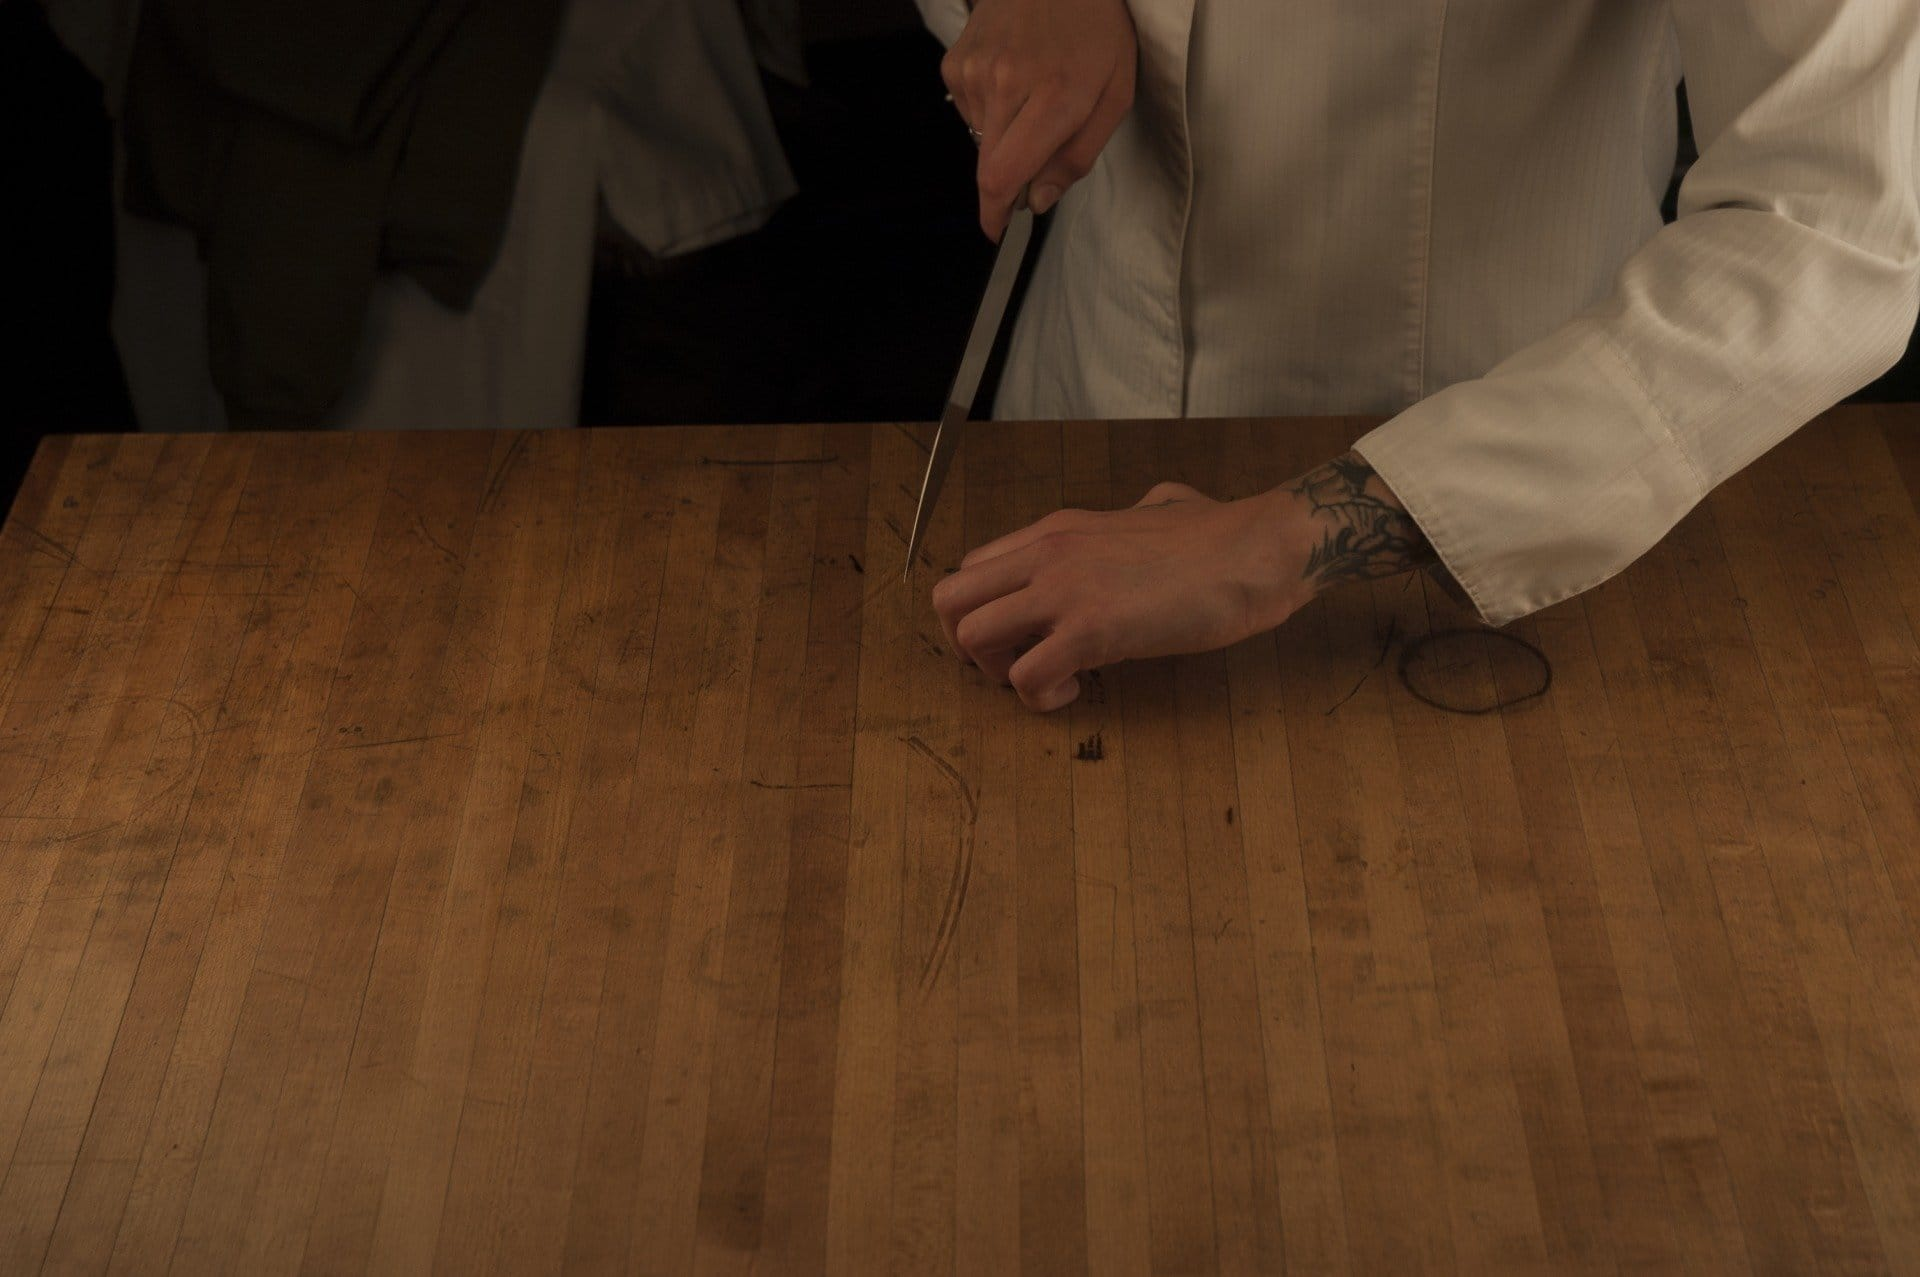
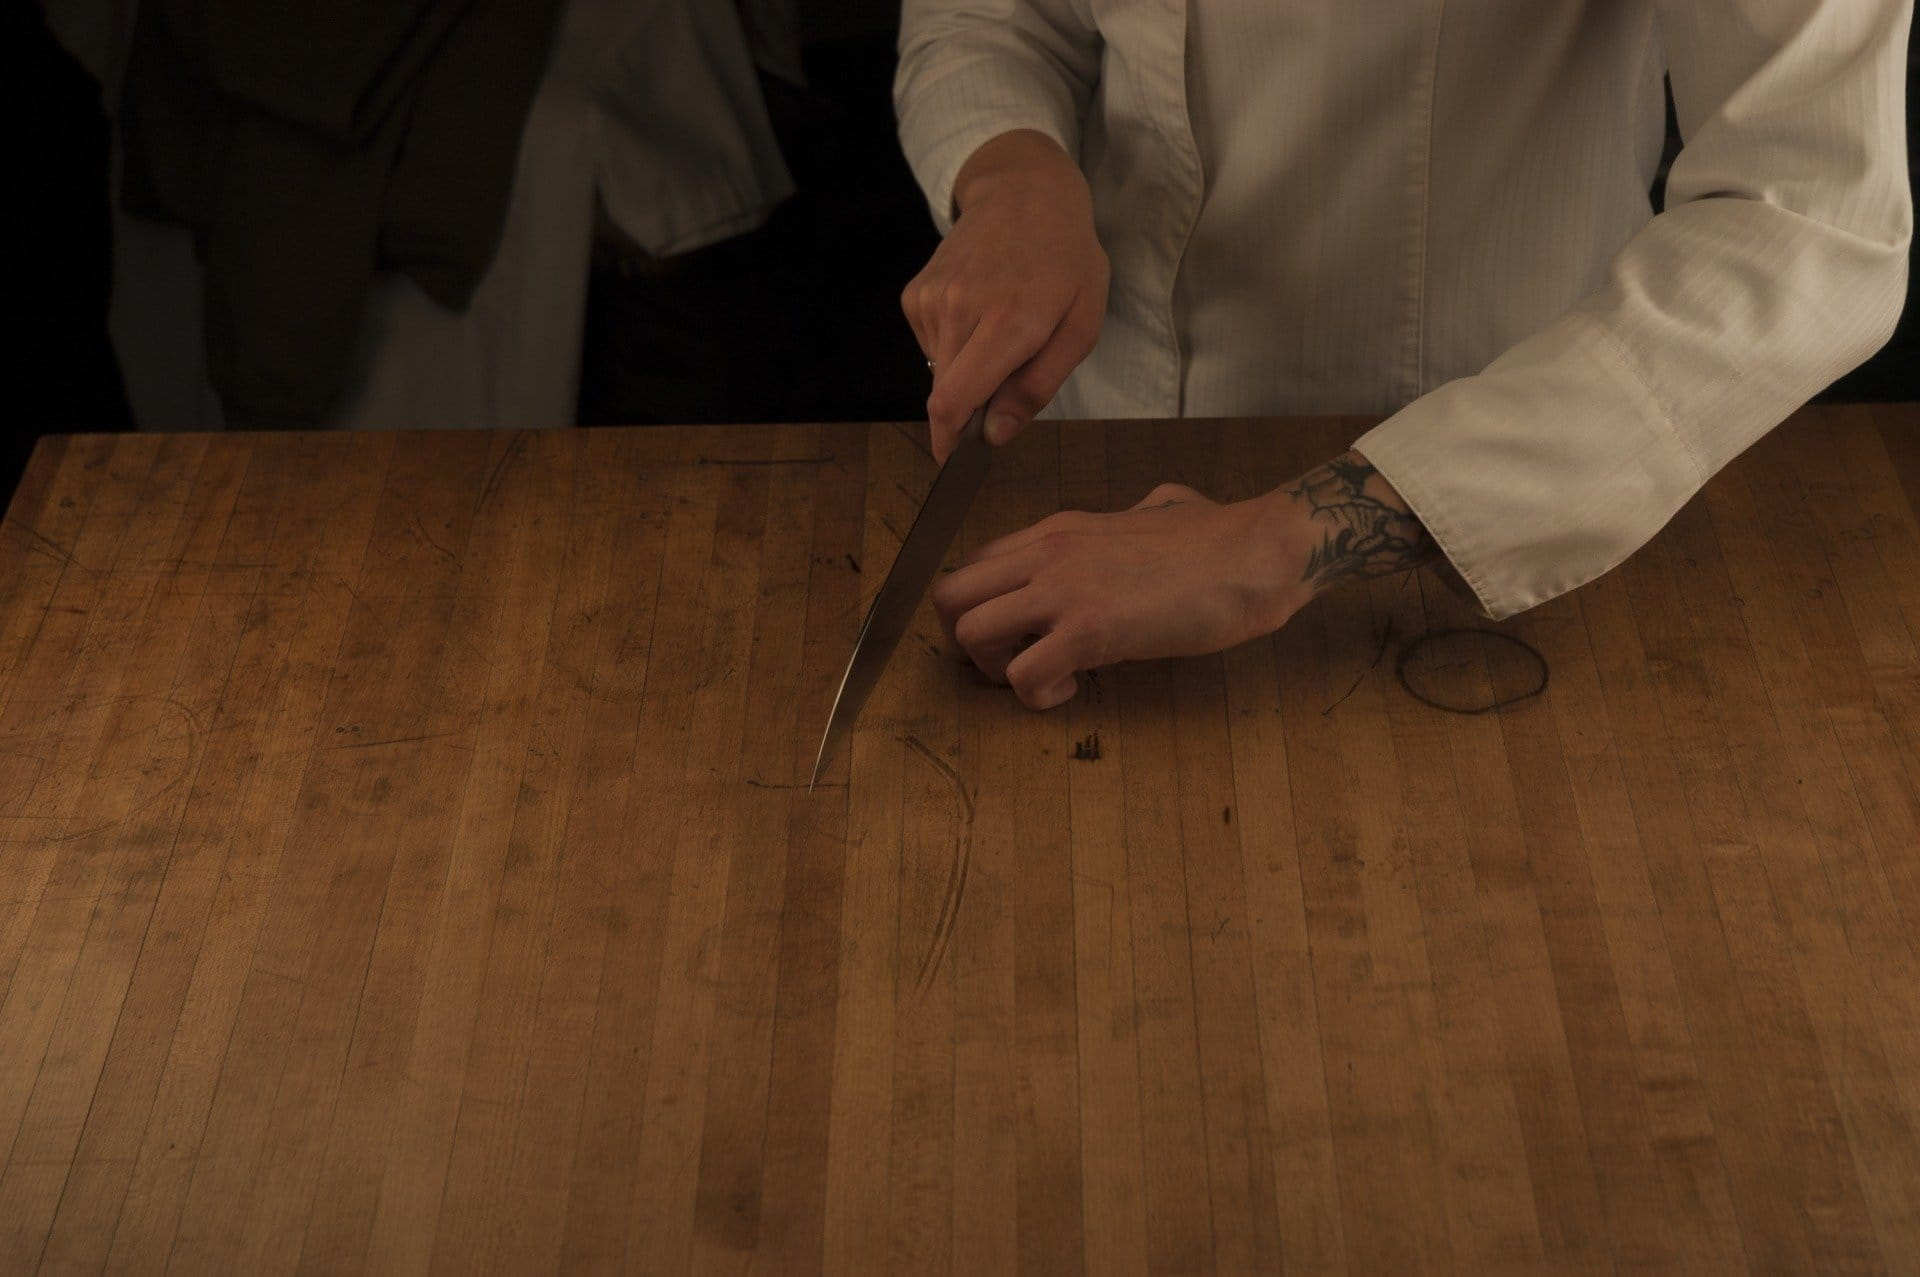
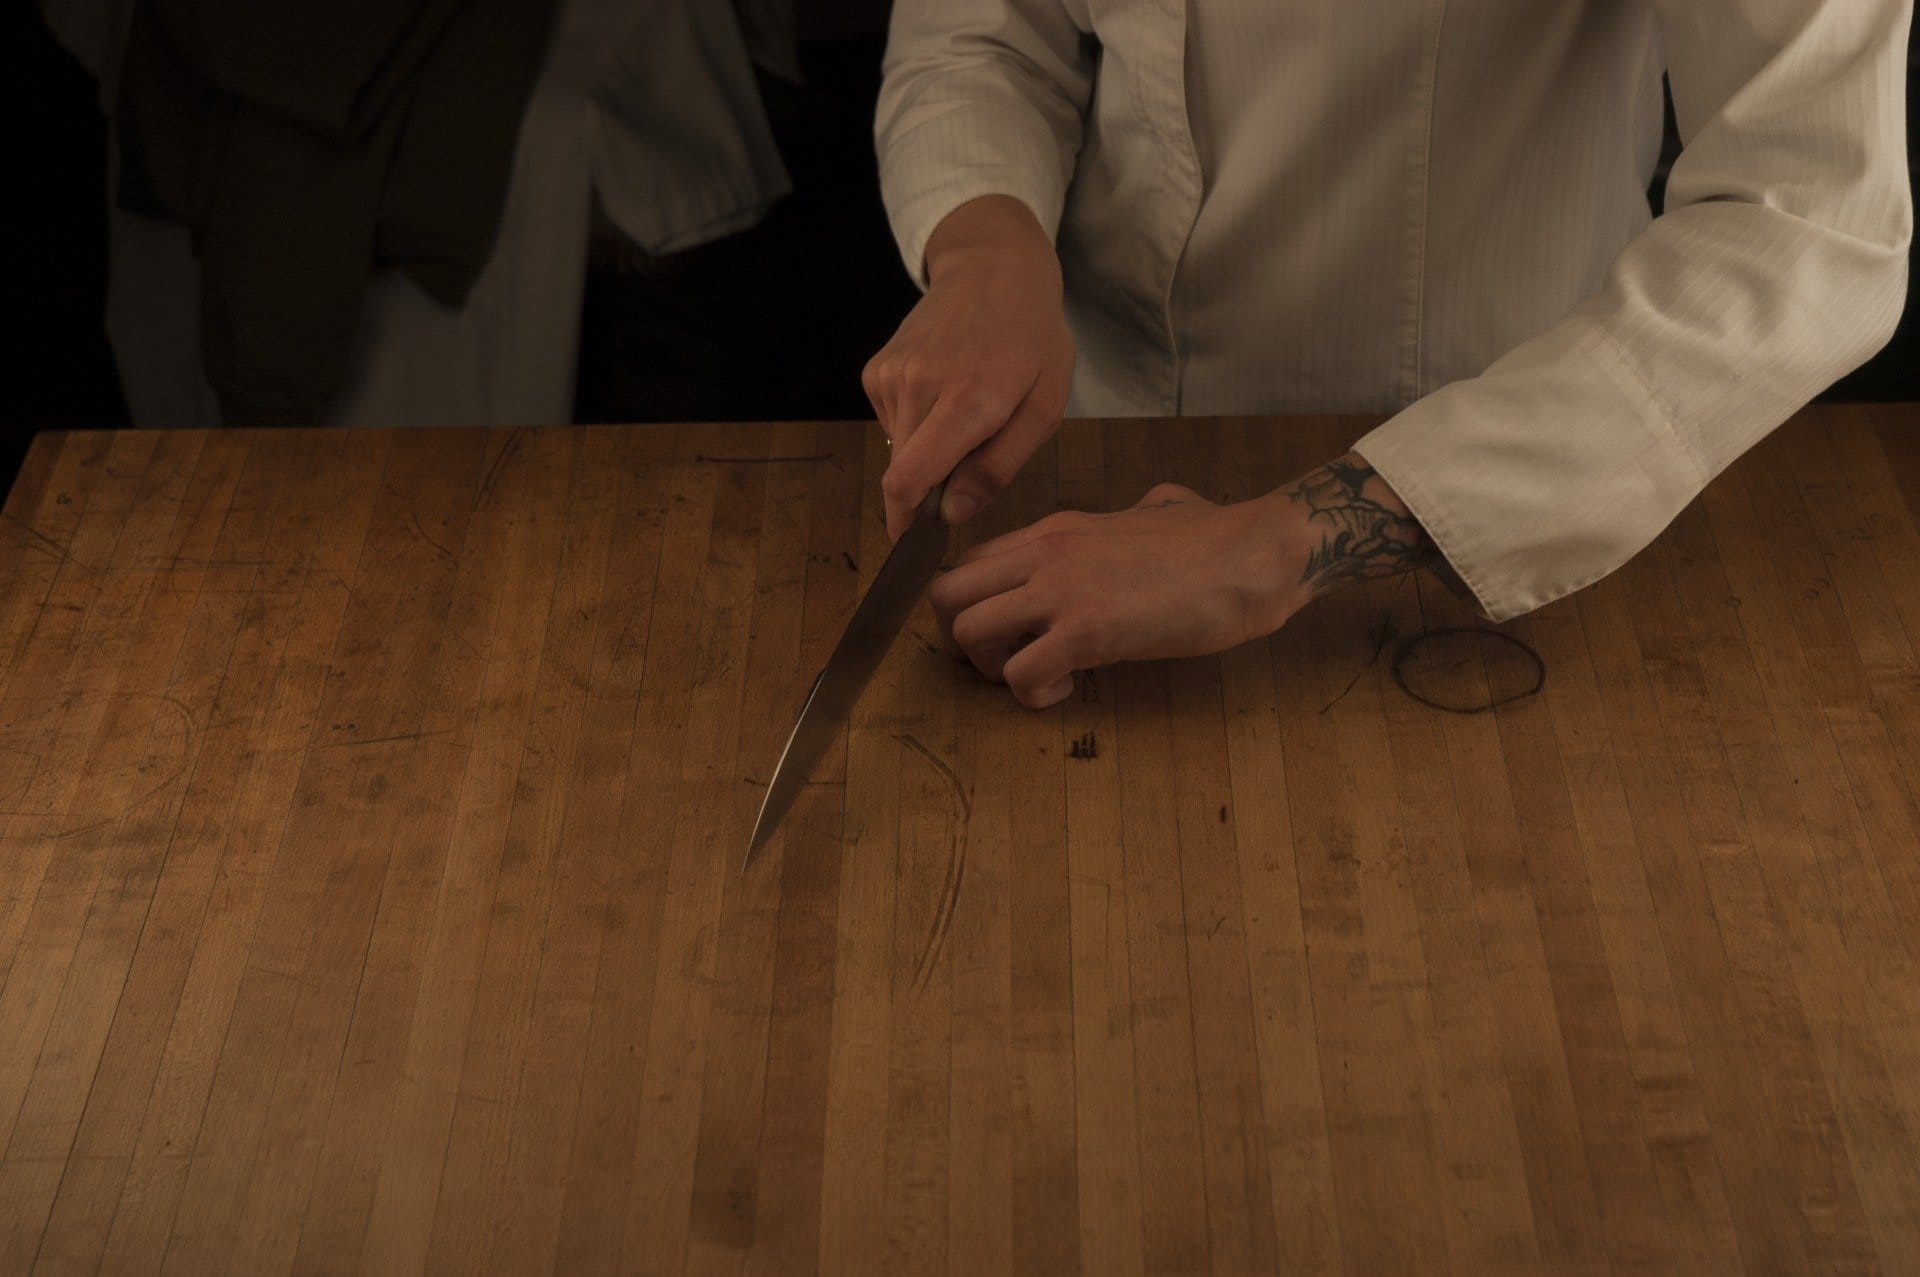
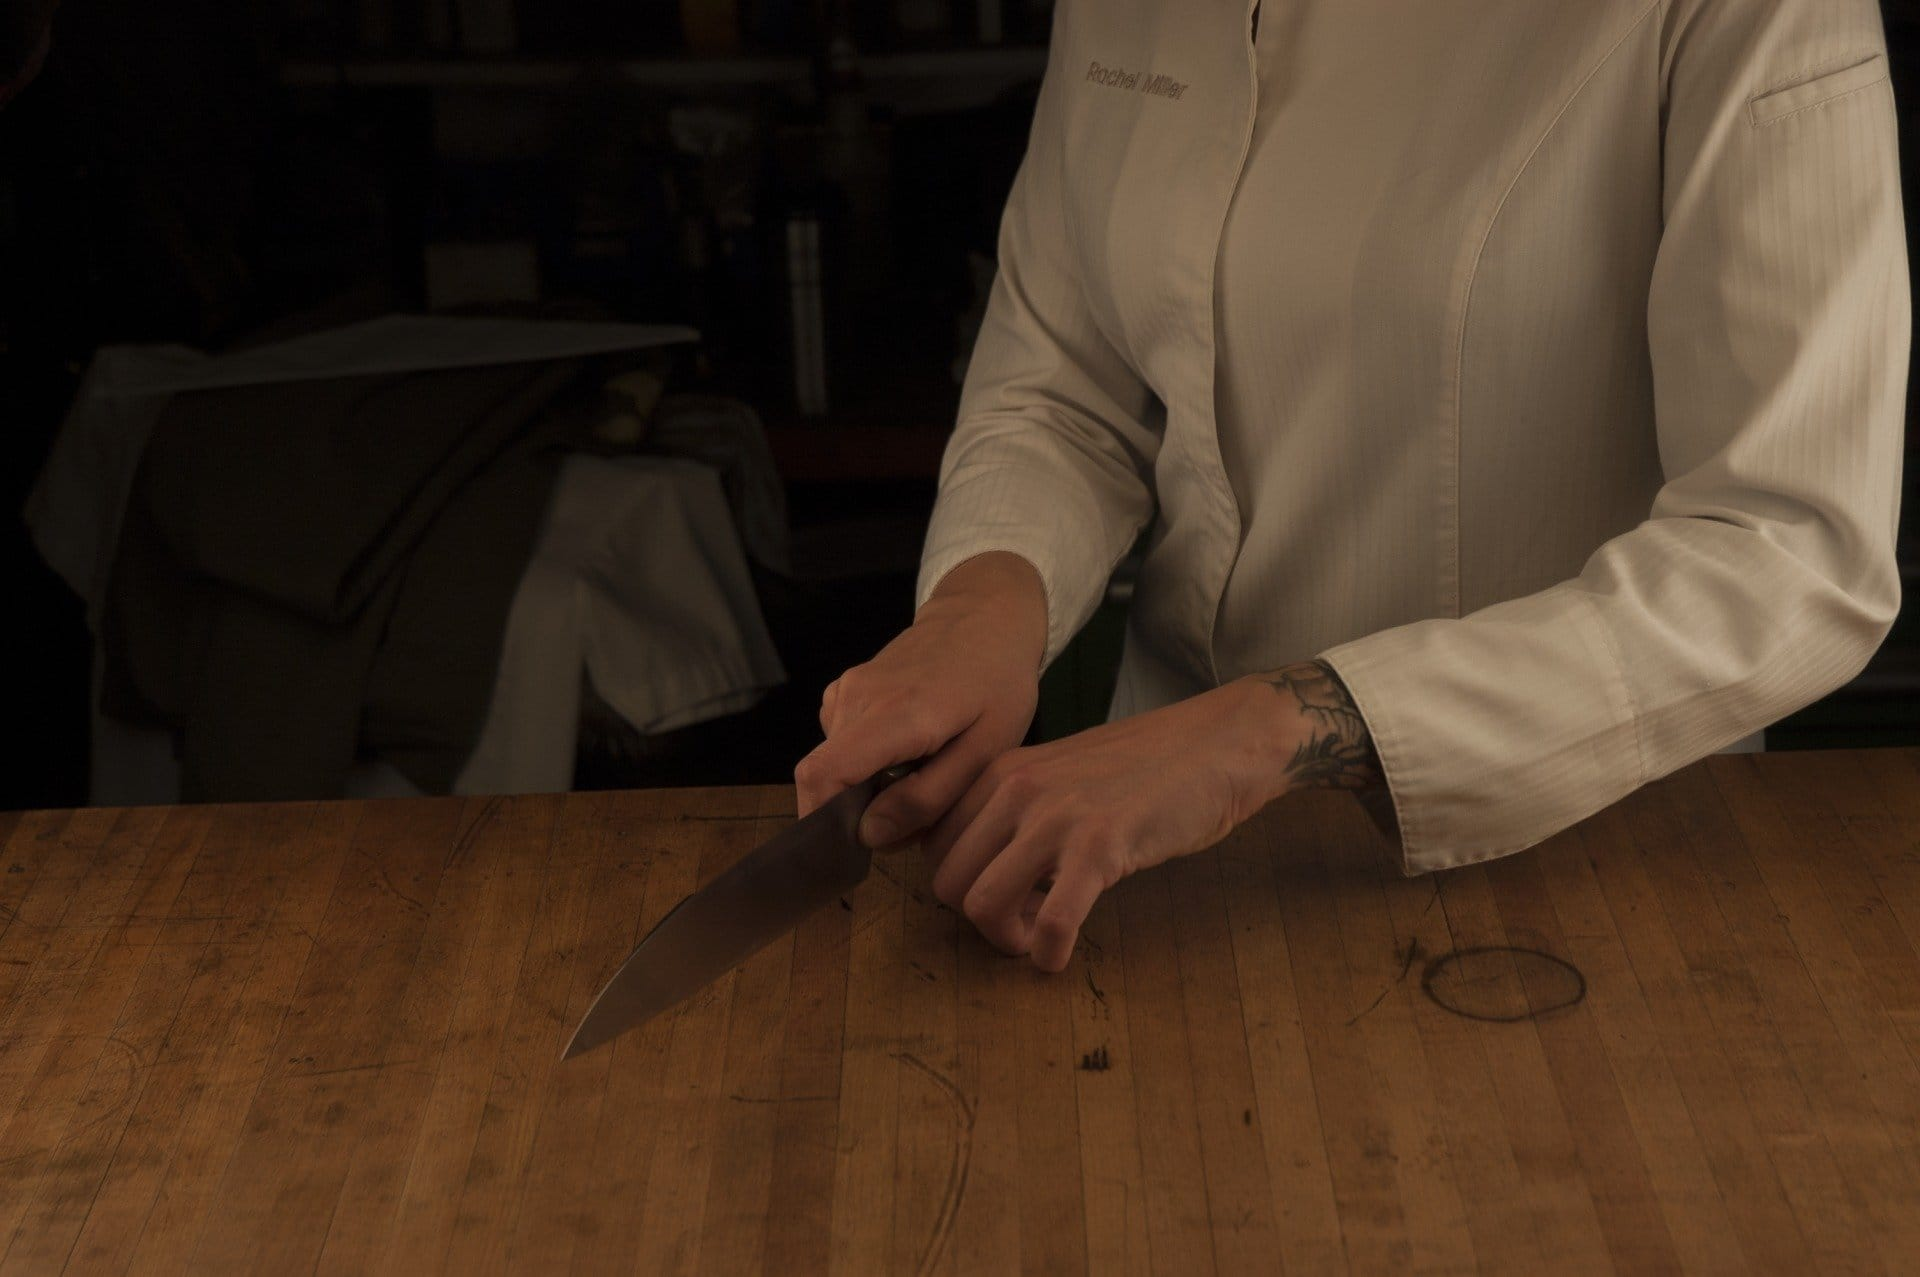
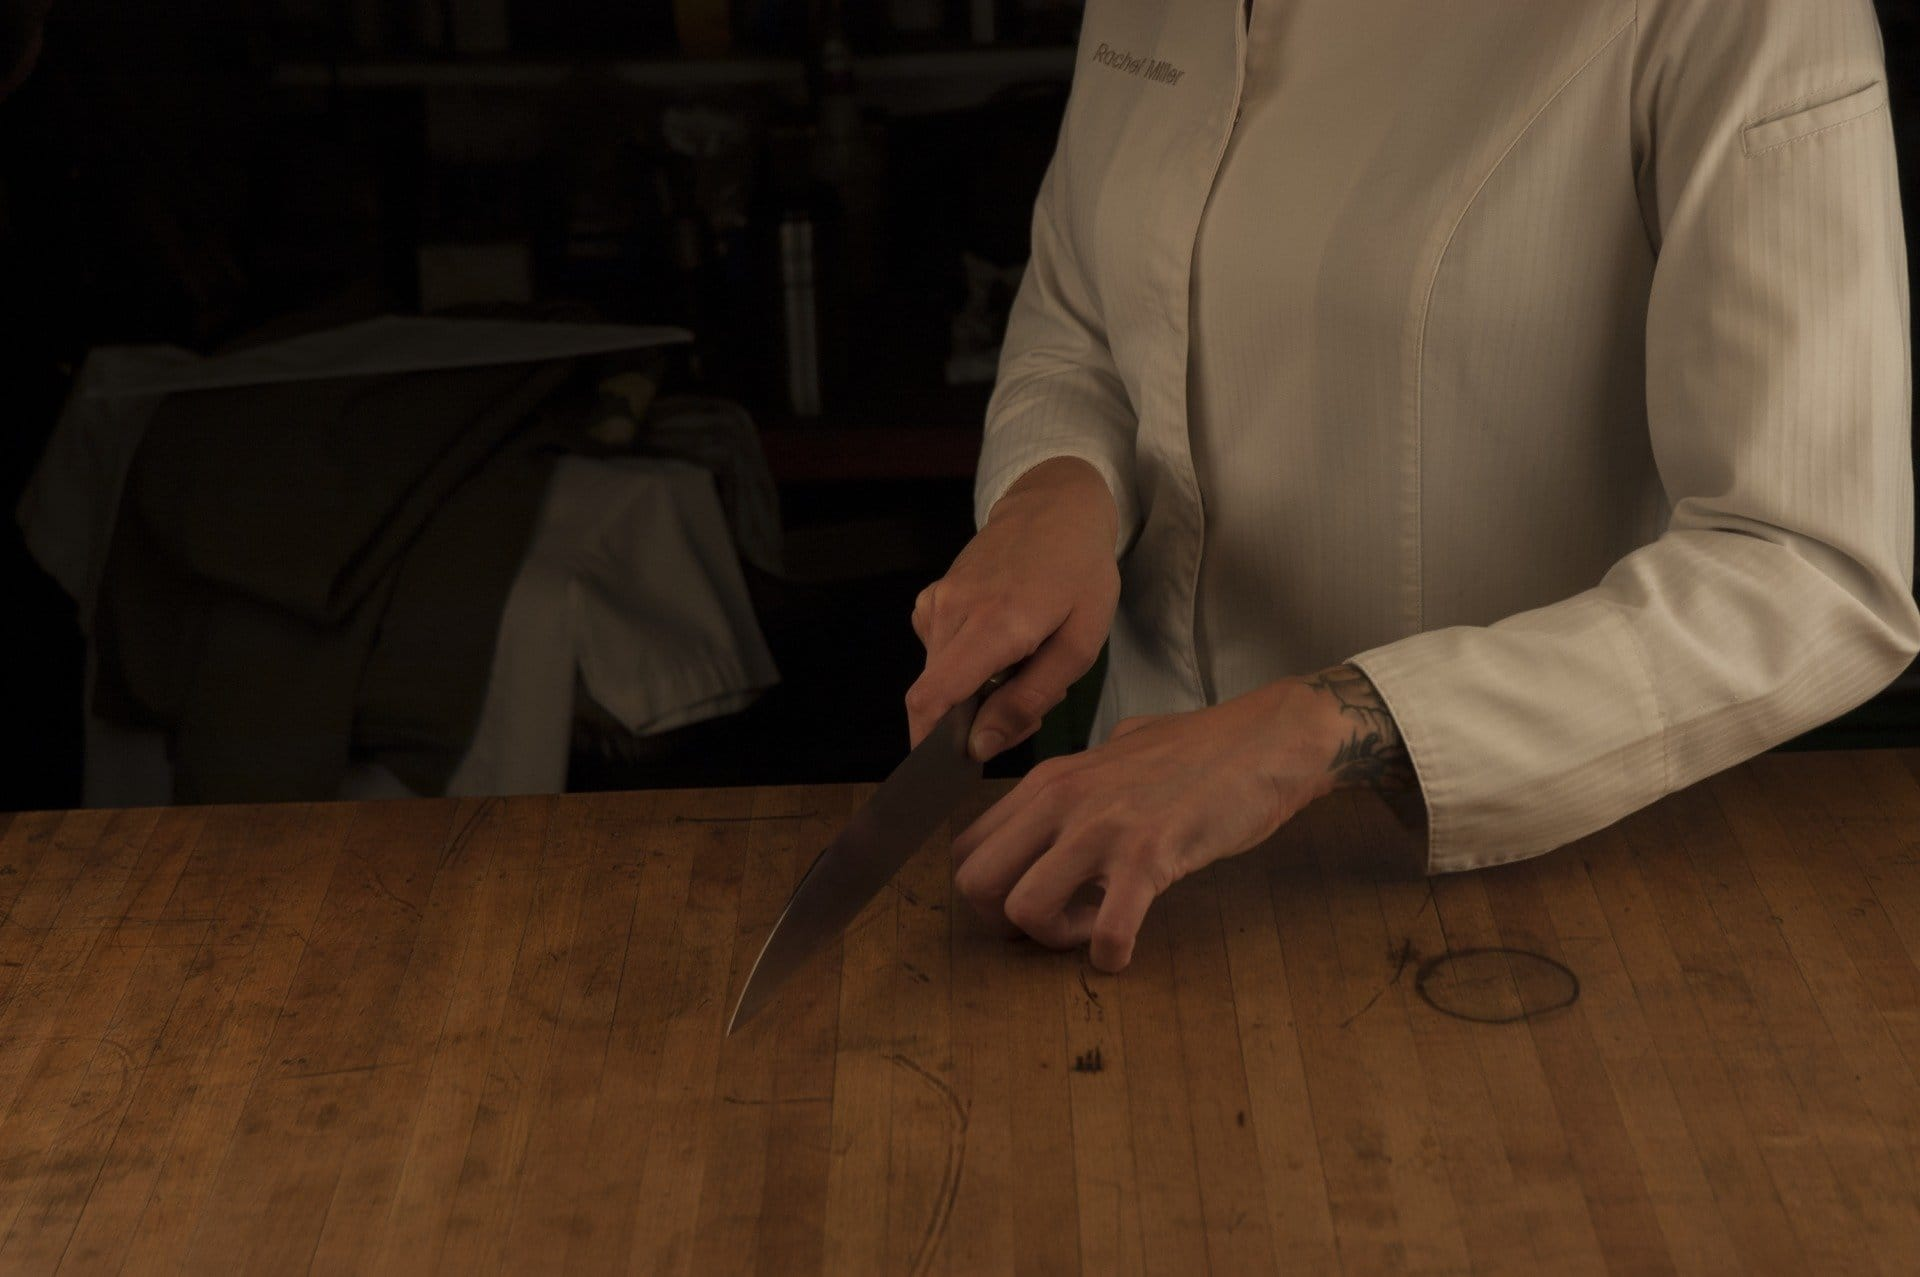
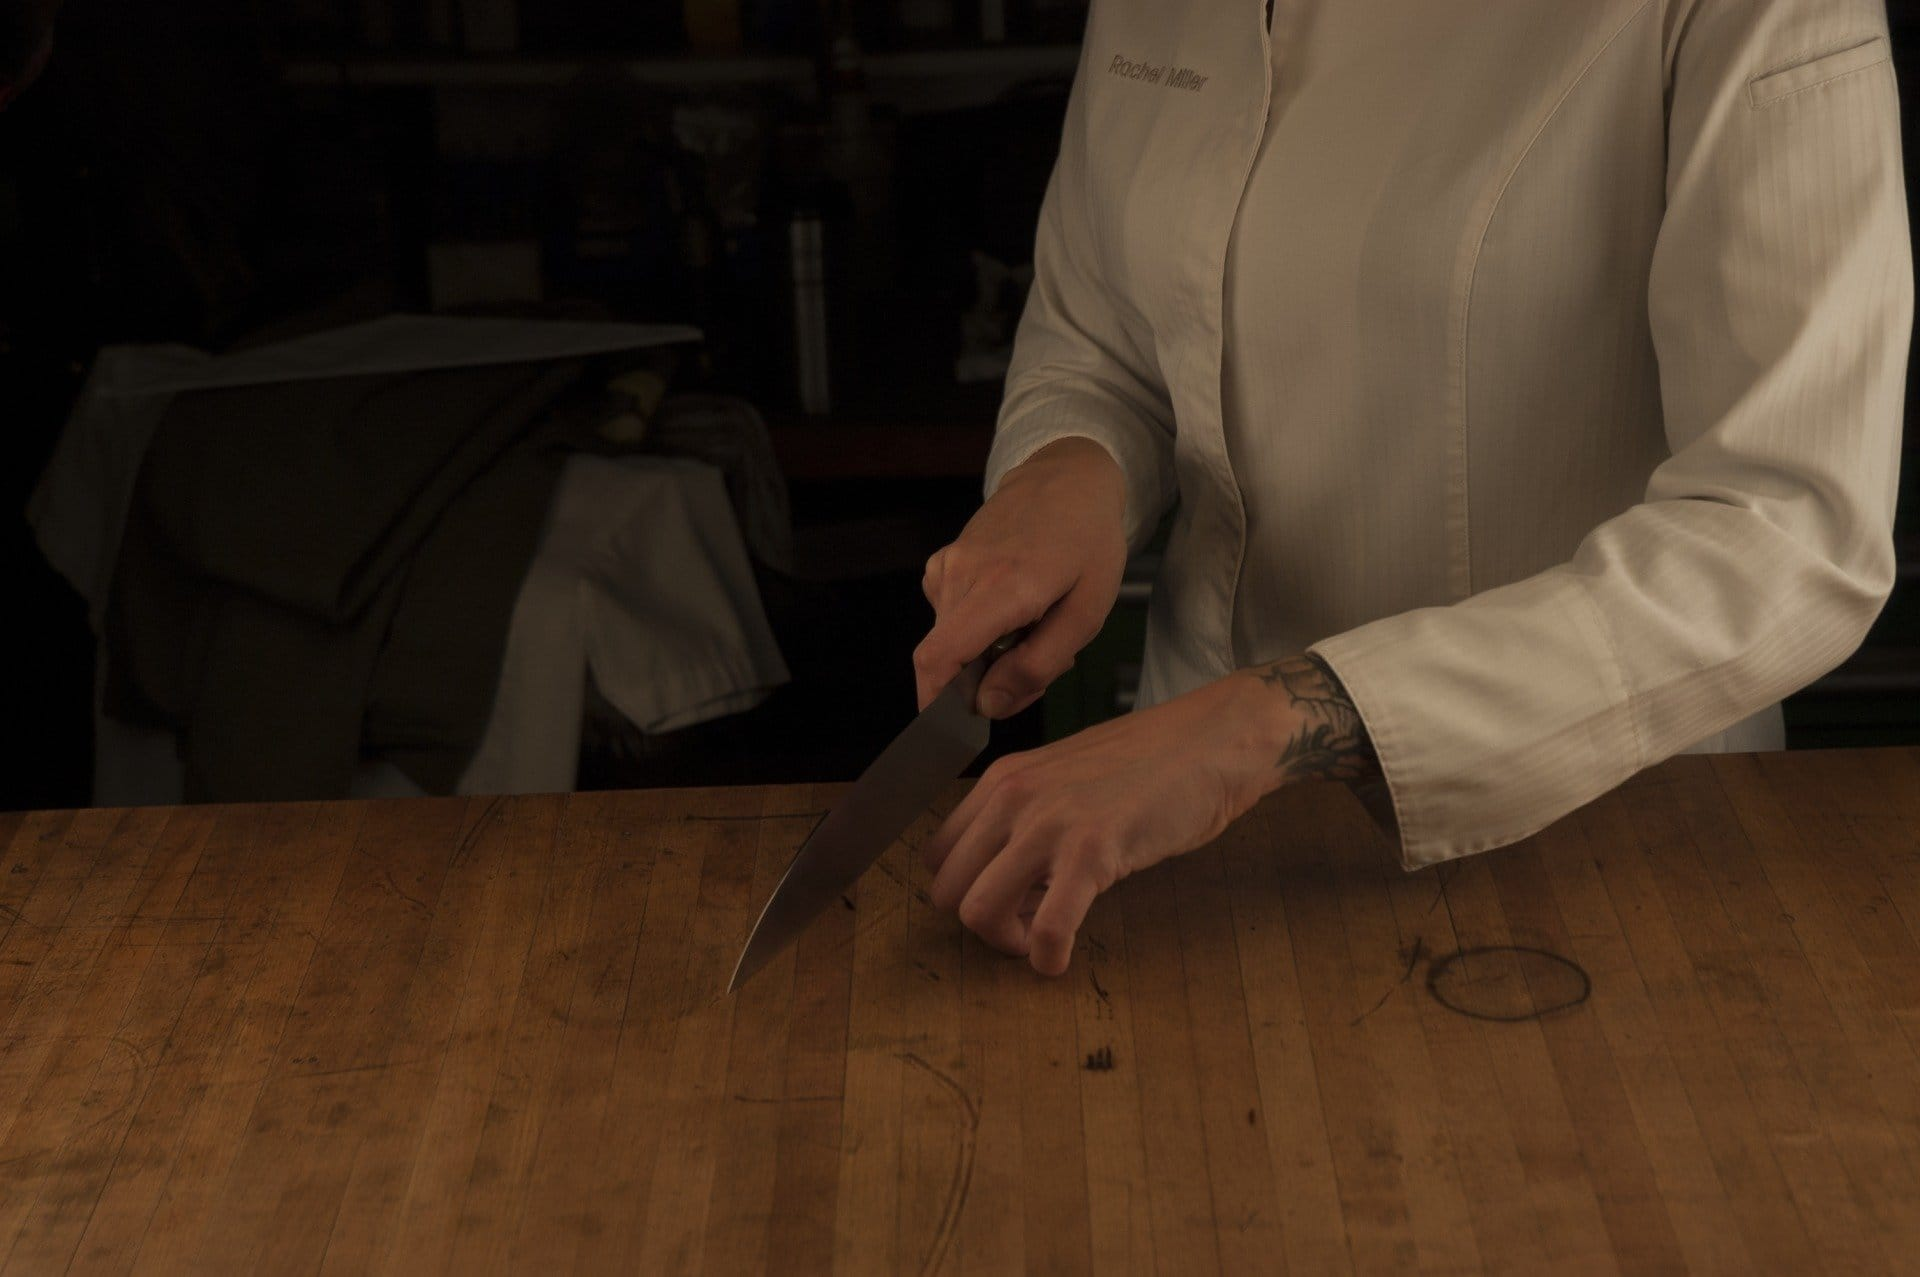
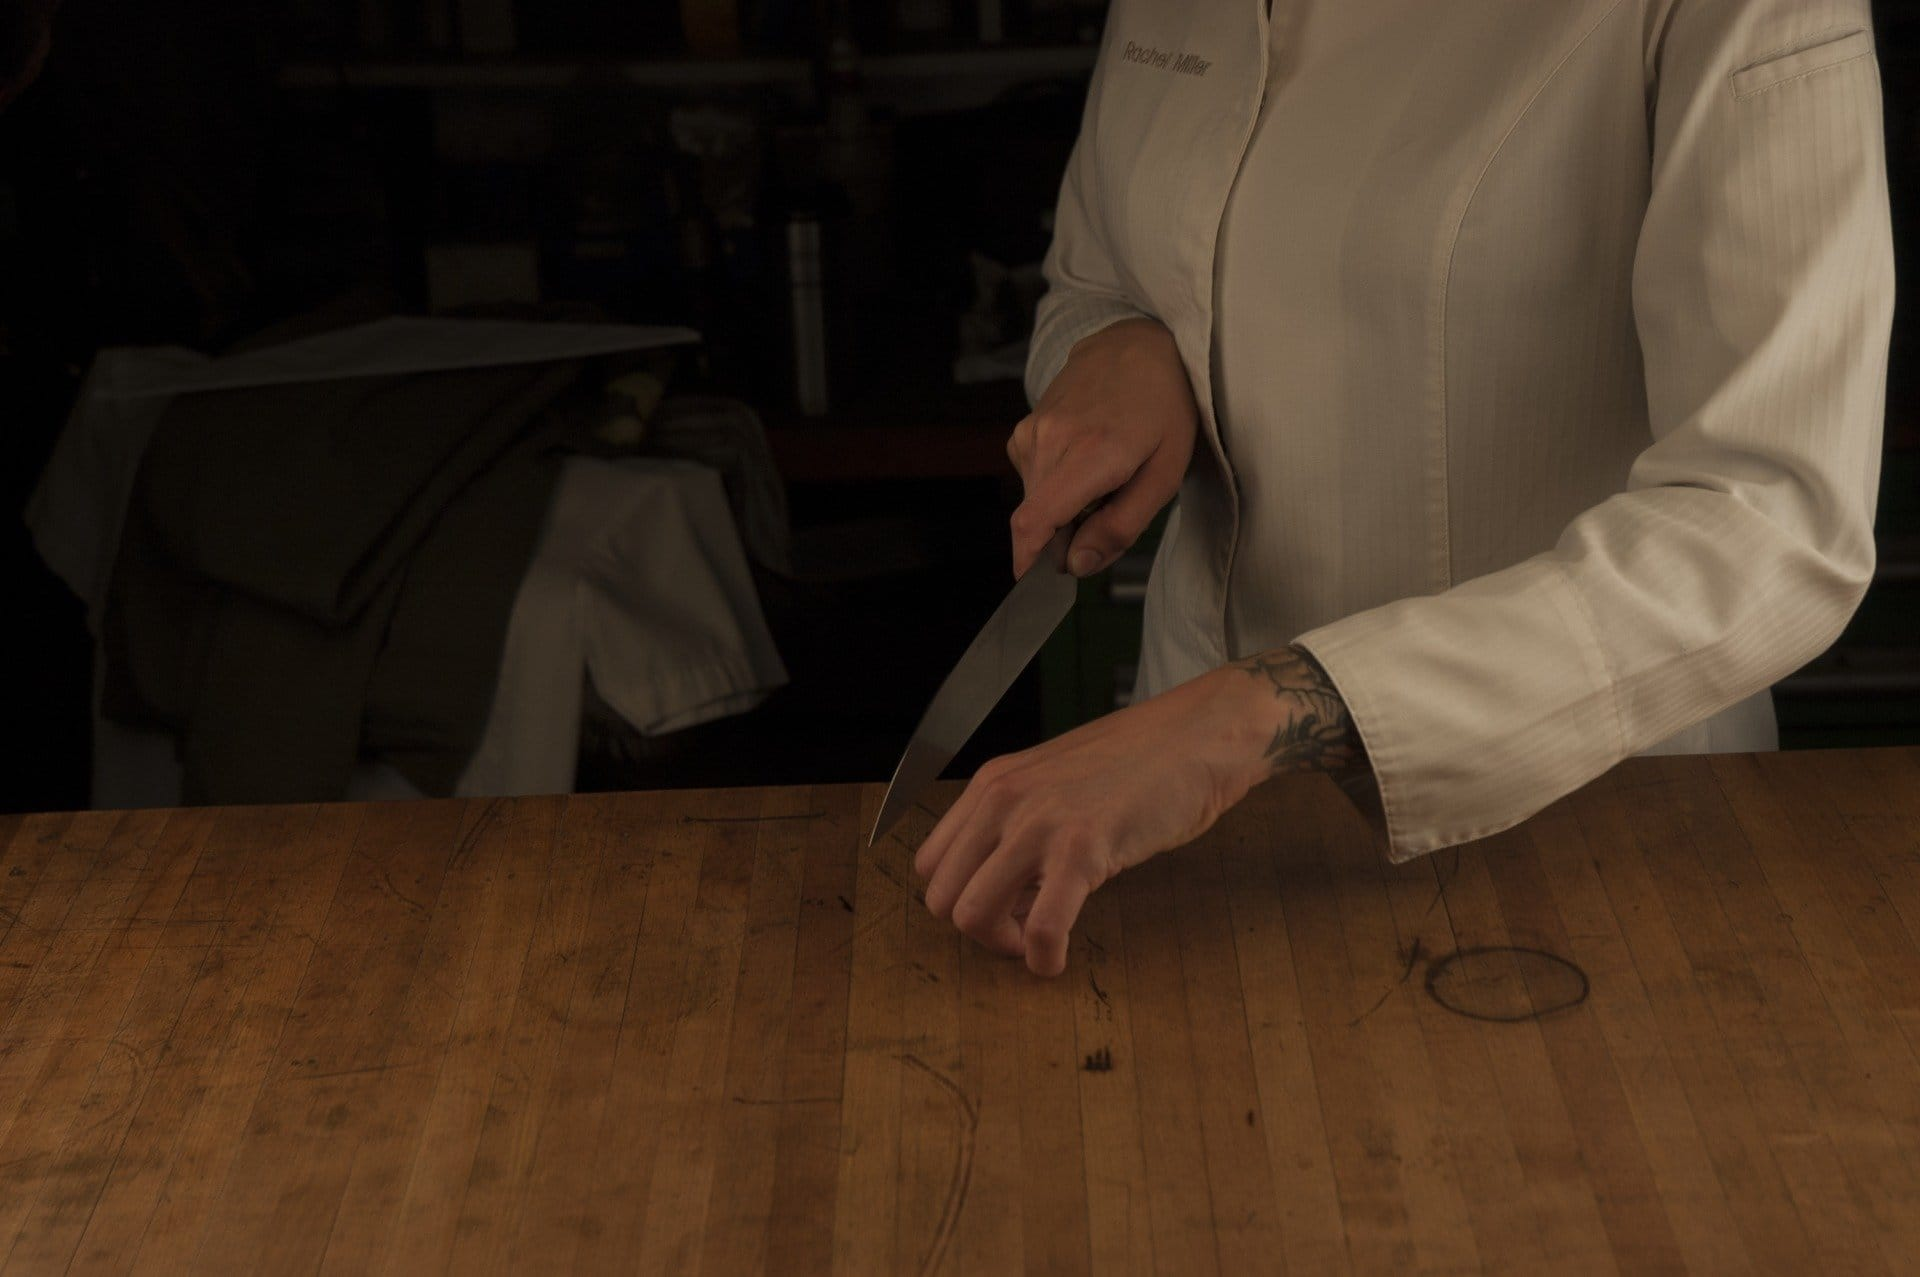
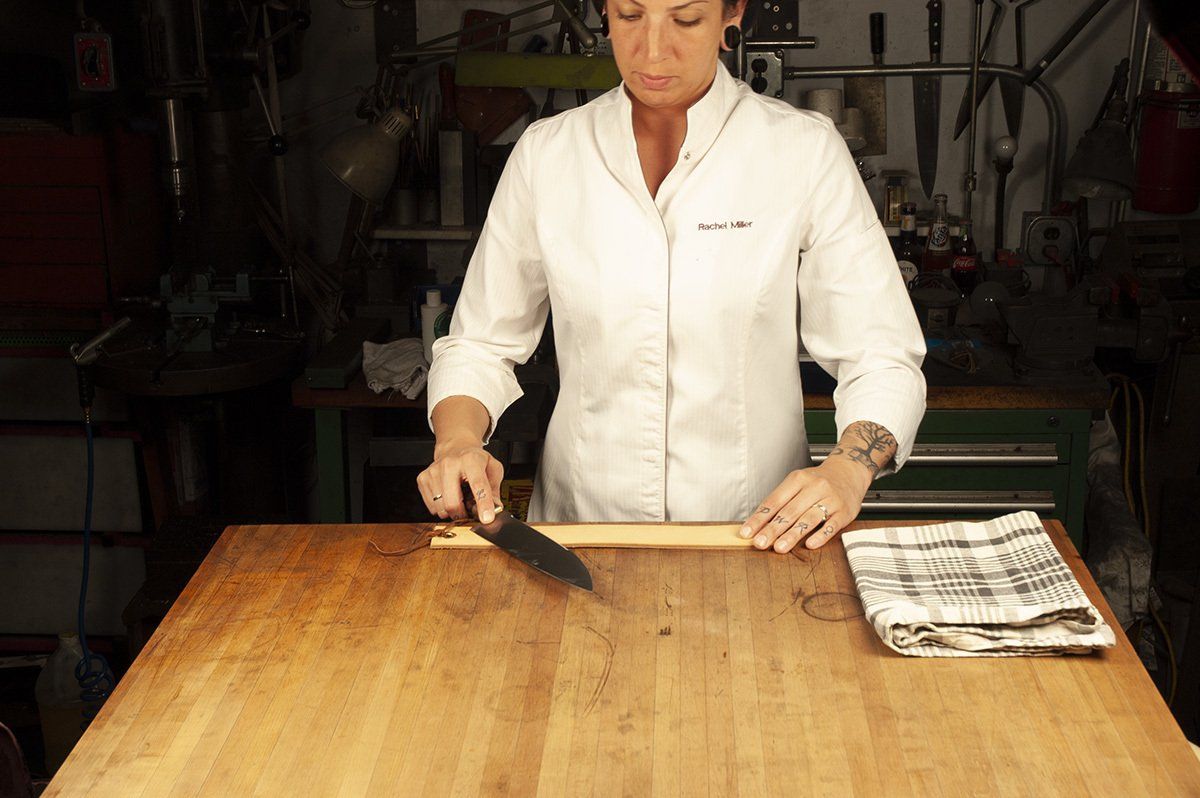
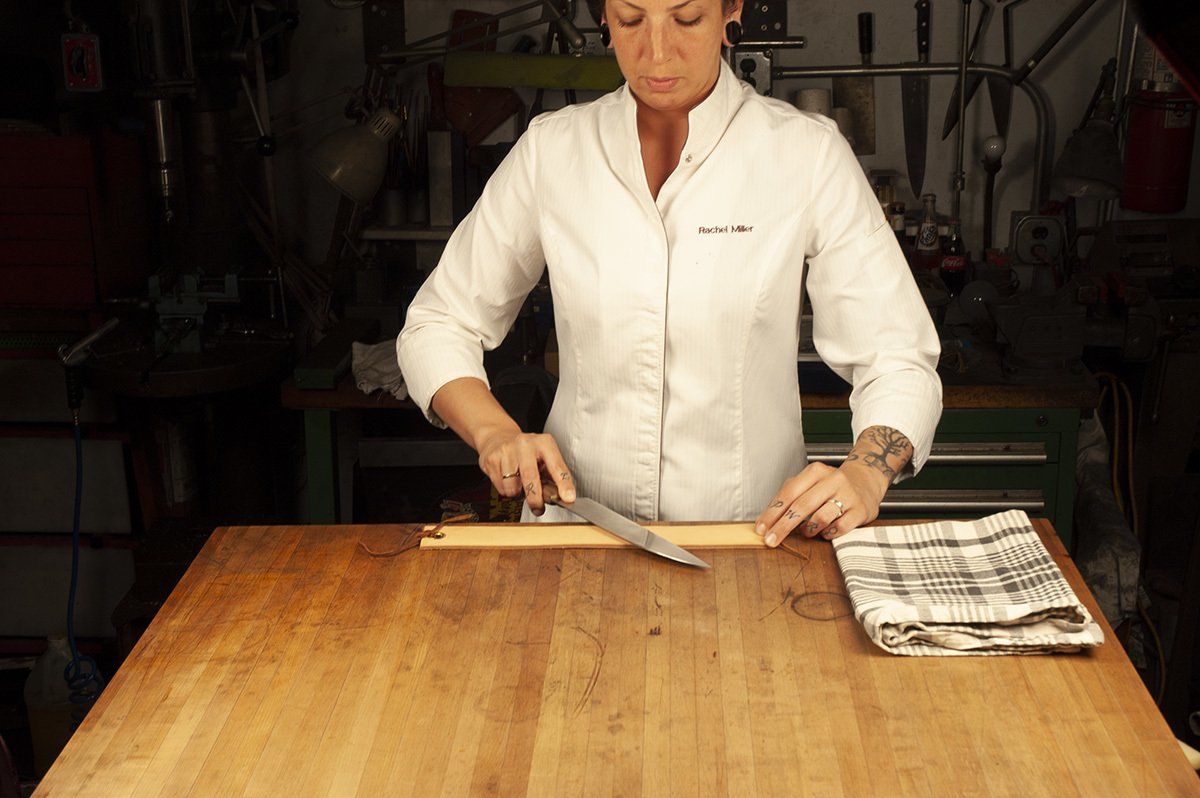
Step 4:Motion (constrained planes)
Hold what is being cut as in Step 3 with your knuckles lightly touching against the side of your knife.
Forward slice:
Set the knife edge on the food near the tip of the knife and move the knife
away from you all the way until the heel of the knife gets past the food.
Mostly push the knife across. Only press down very very little.
Try to keep your knife blade straight up and down over the entire motion. Don’t let it twist or flop
from side to side at all.
If you keep your eye on the spine of the knife just above the point at which the cutting is happening,
you should never see the knife’s sides.
Think of putting a book back in a packed bookcase- if it’s not straight, it won’t go in.
Back Slice:
Observe all the same directions as for the forward slice except start at the heel of the knife
and draw across until you reach the tip.
Again, try to understand your motion in terms of your whole body.
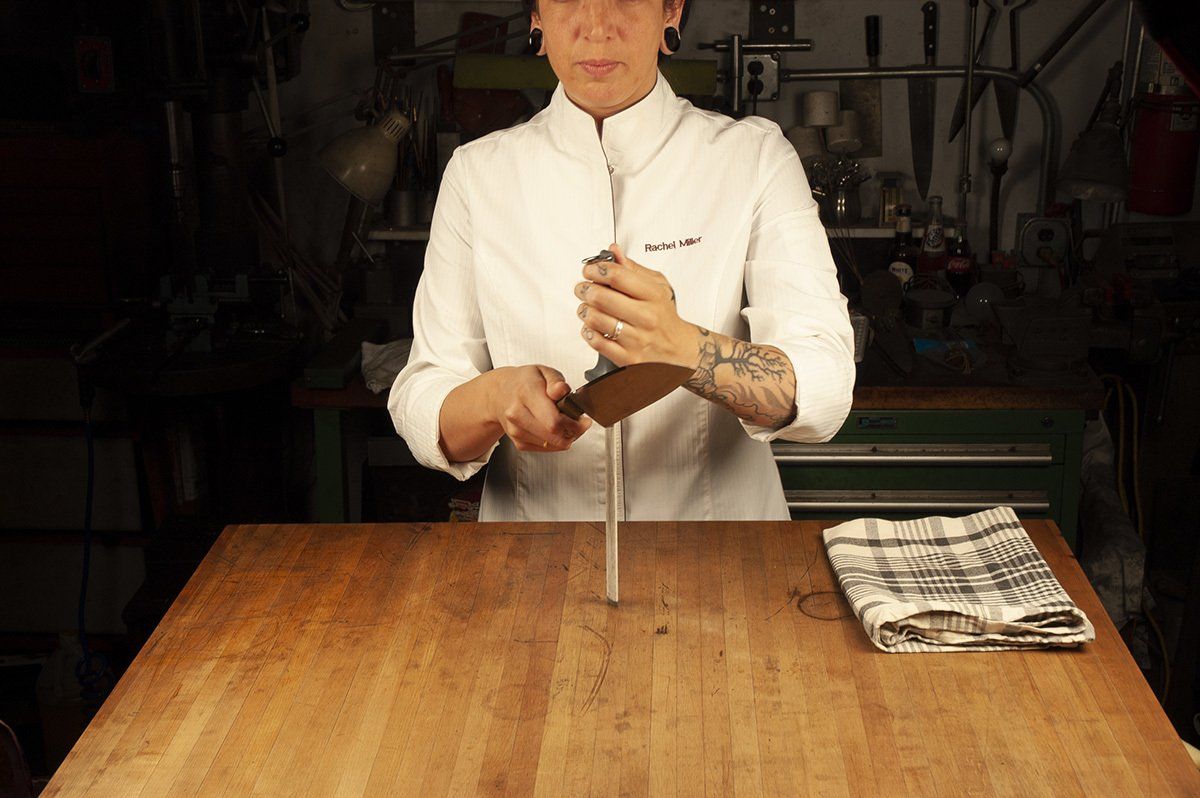
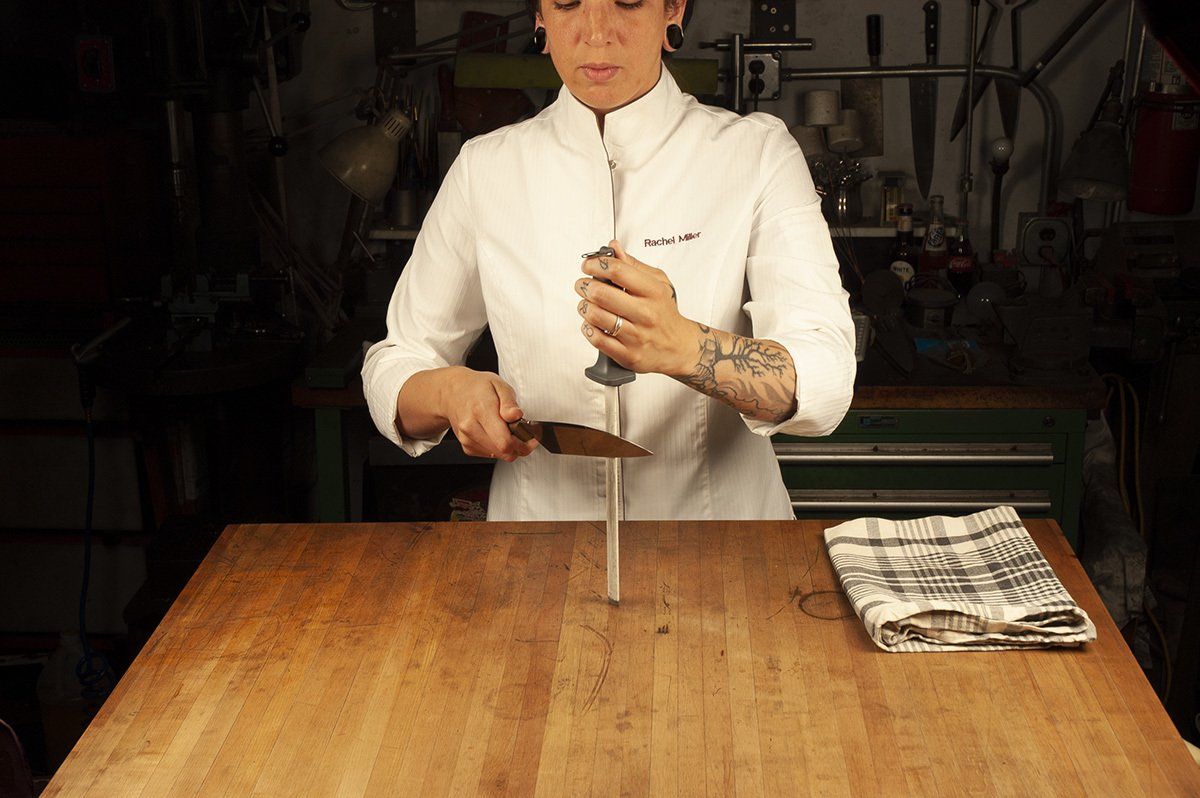
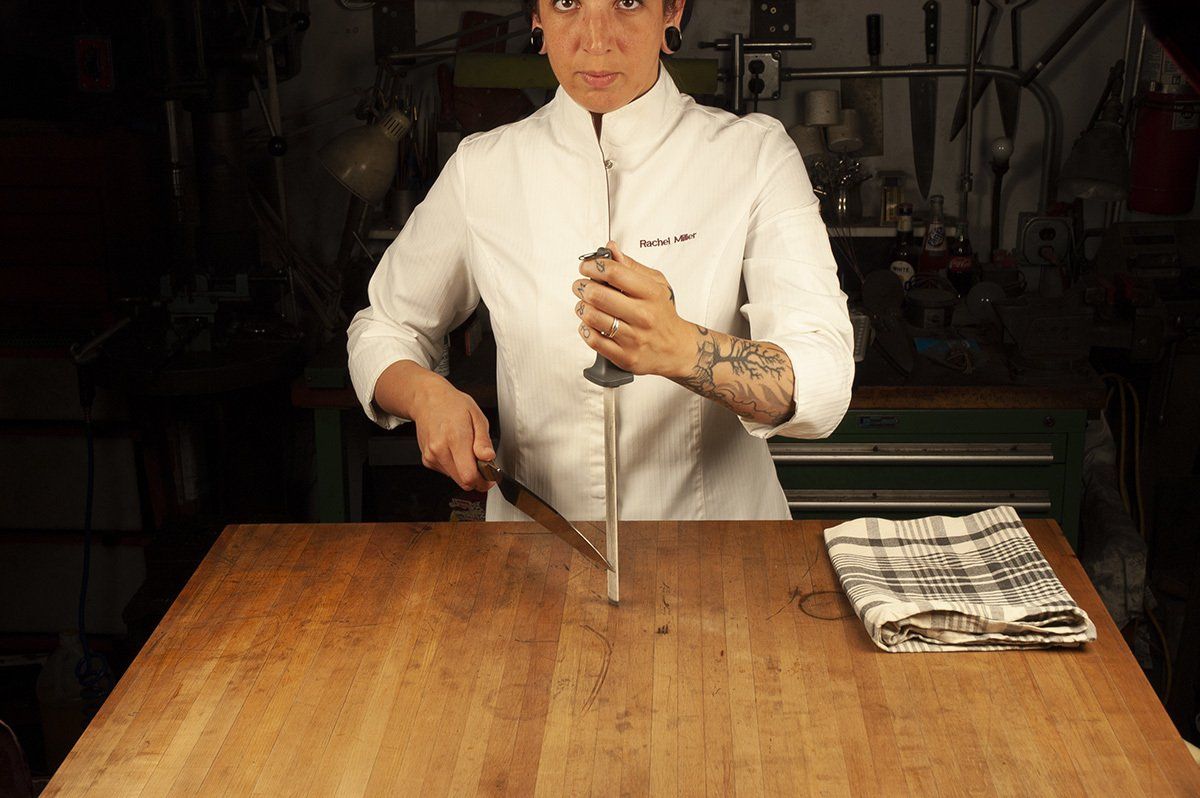
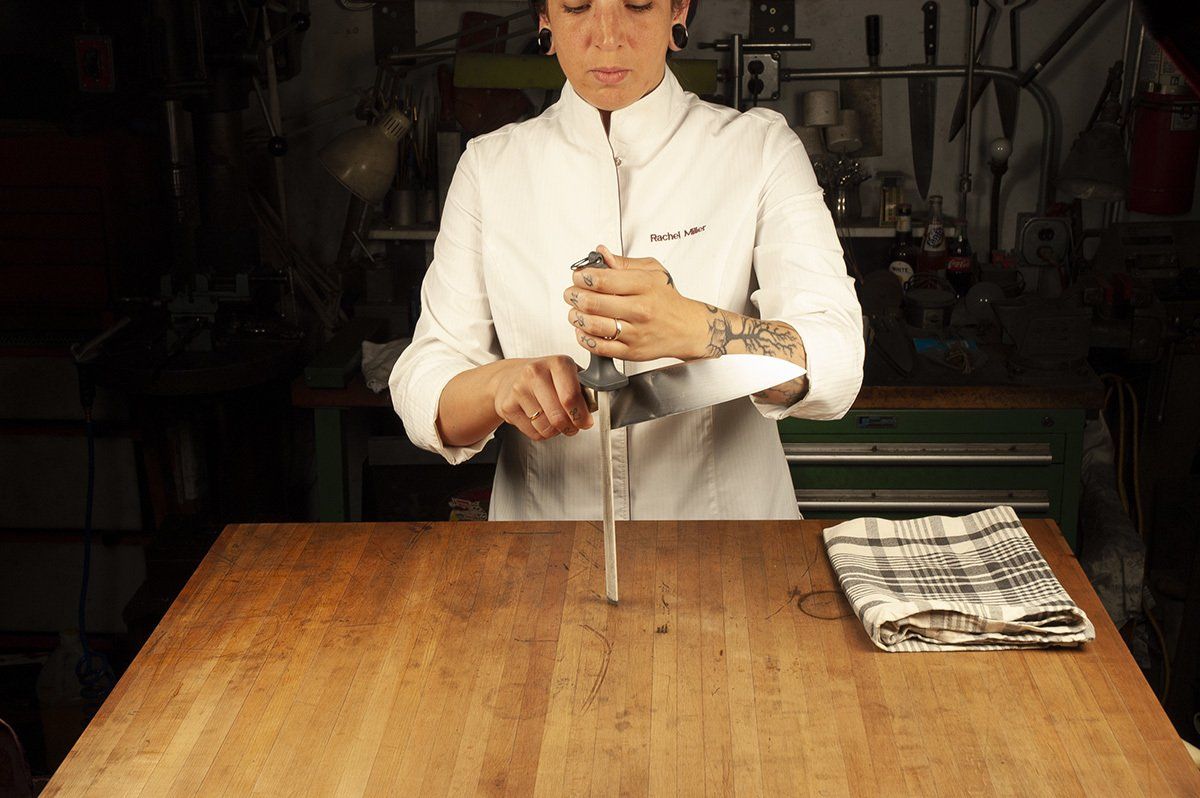
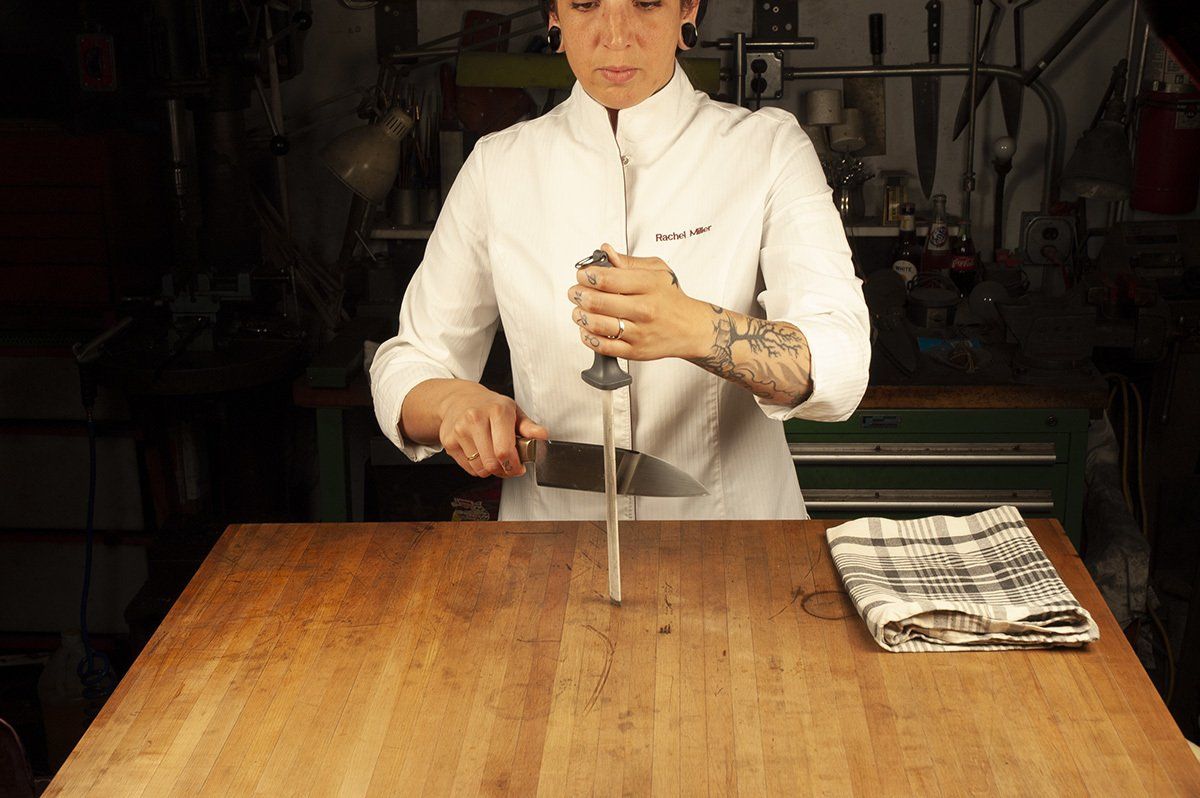
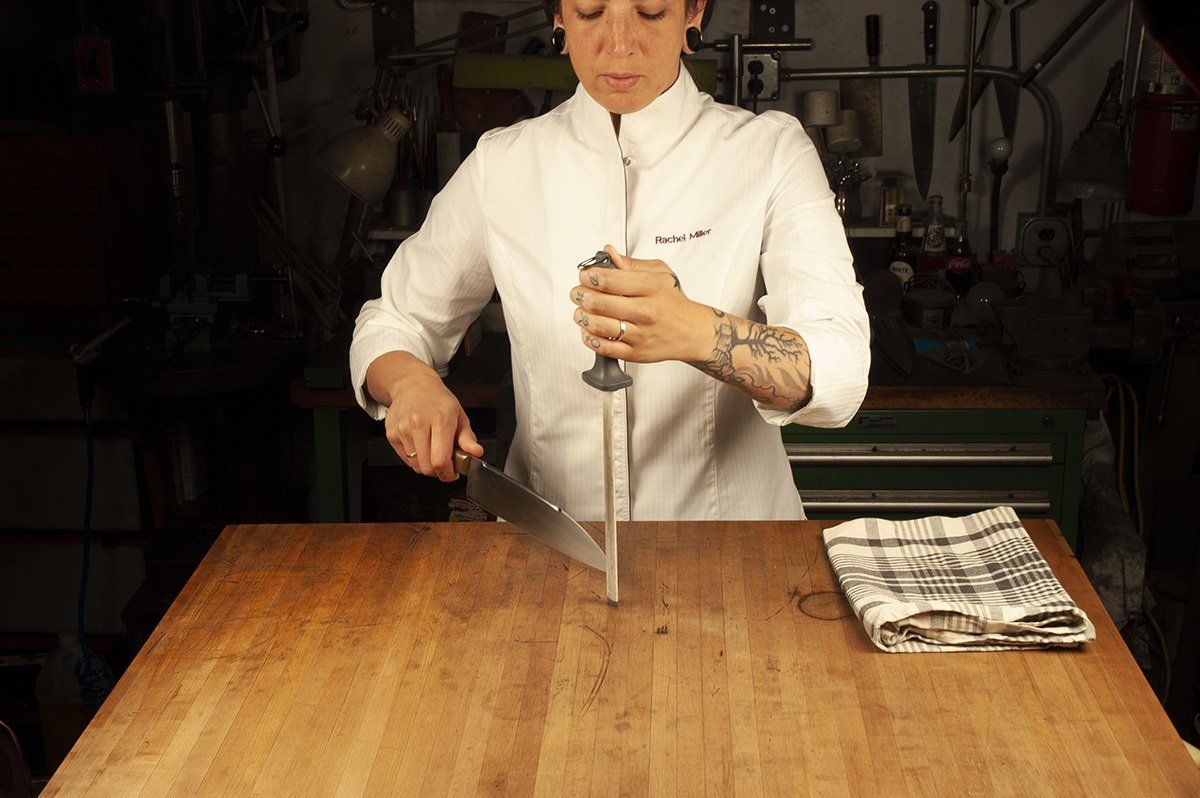
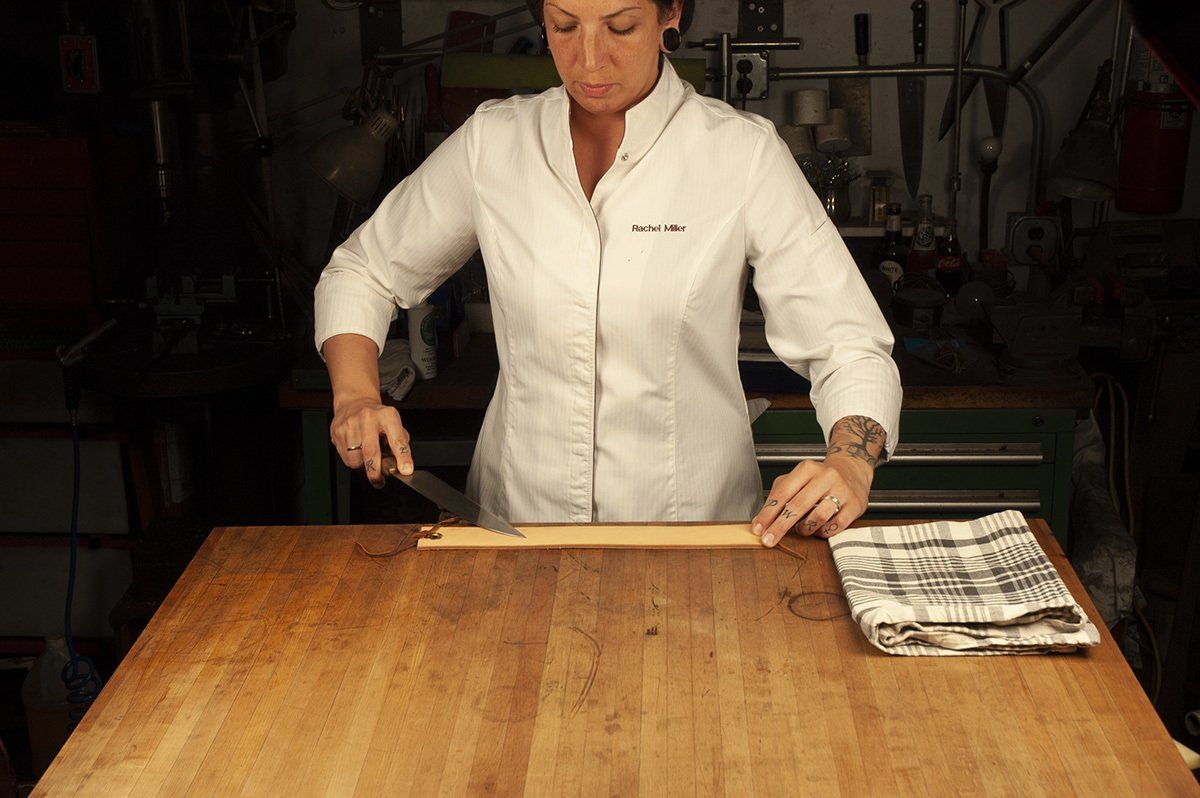
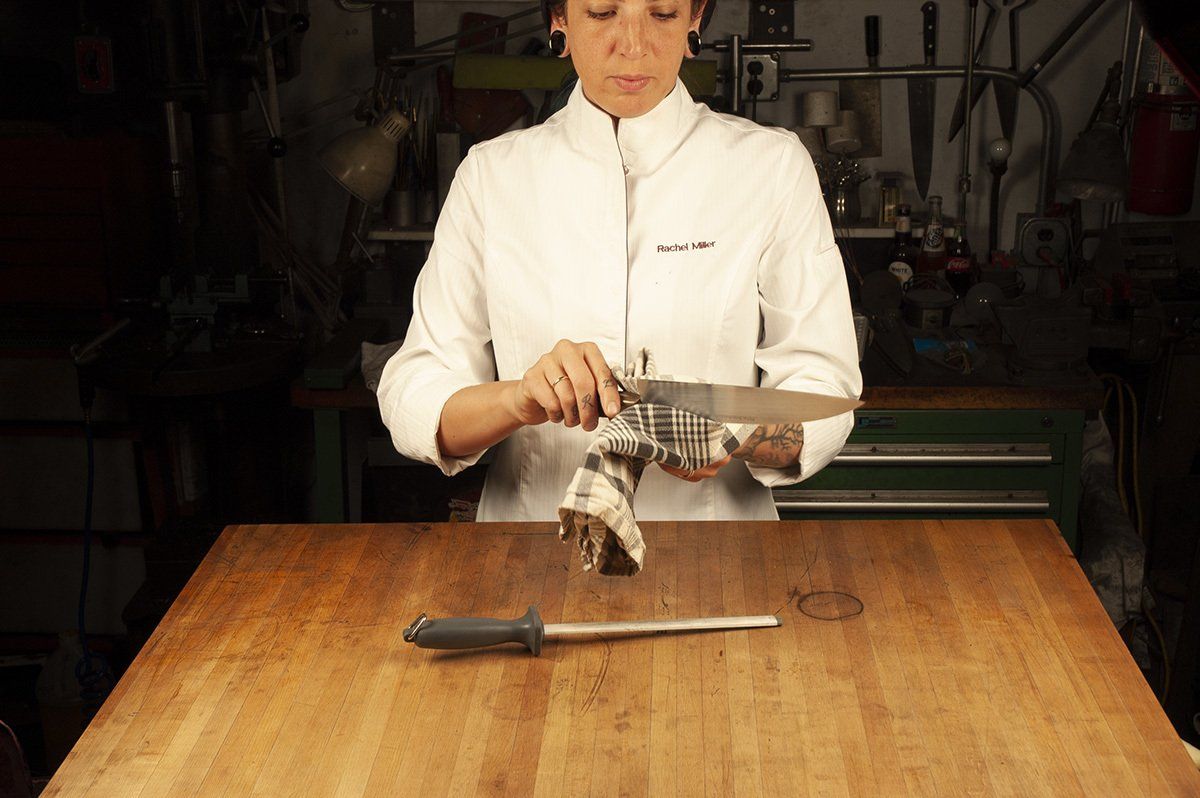
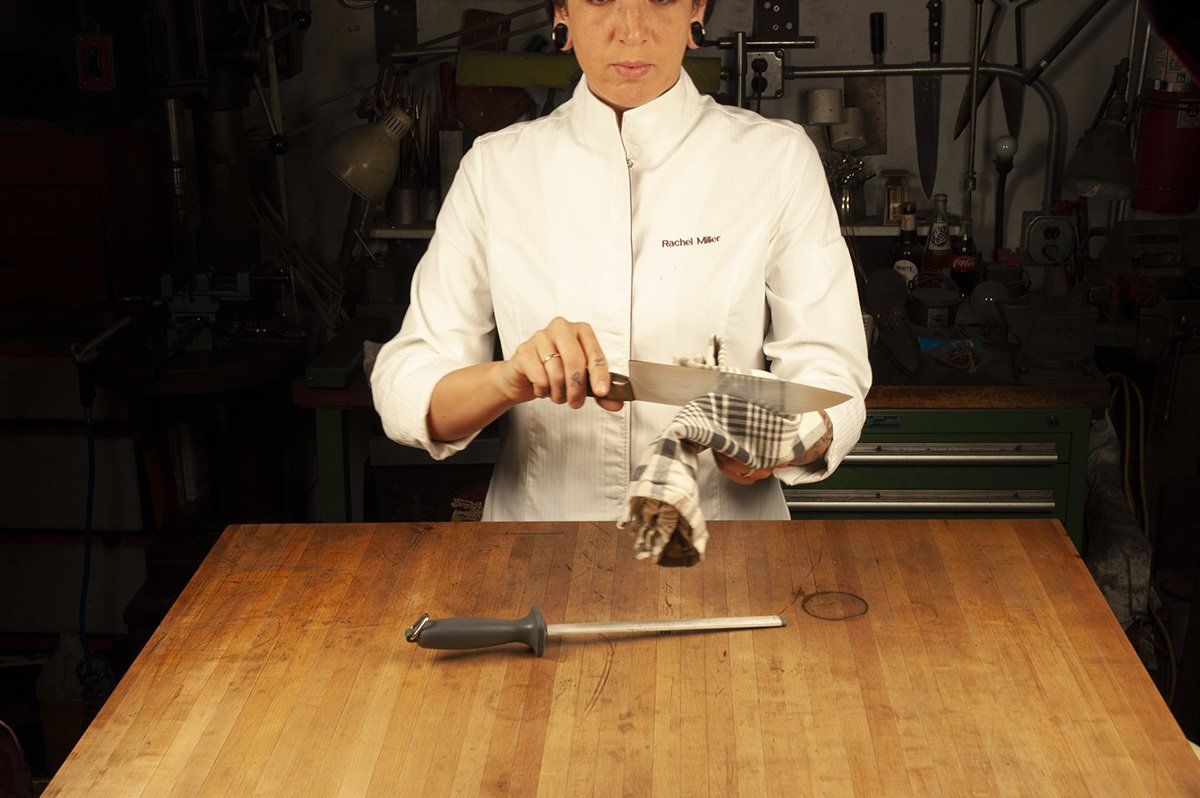
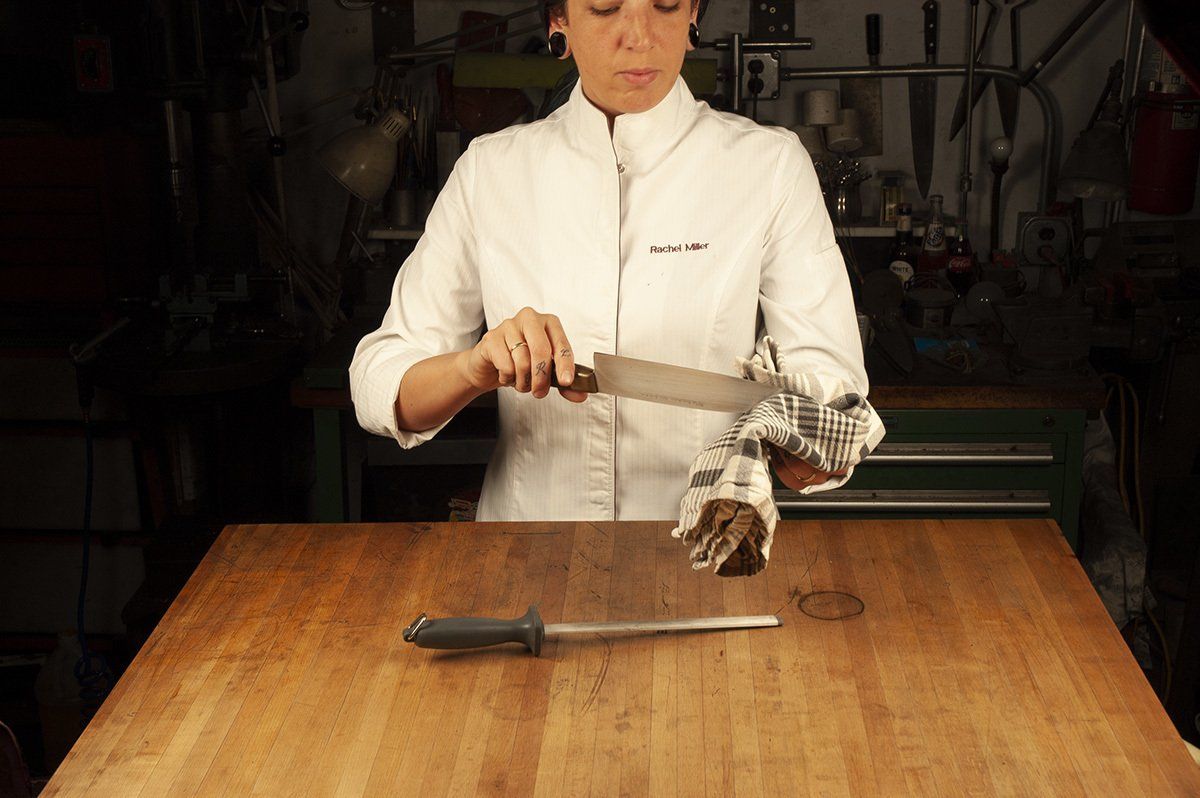
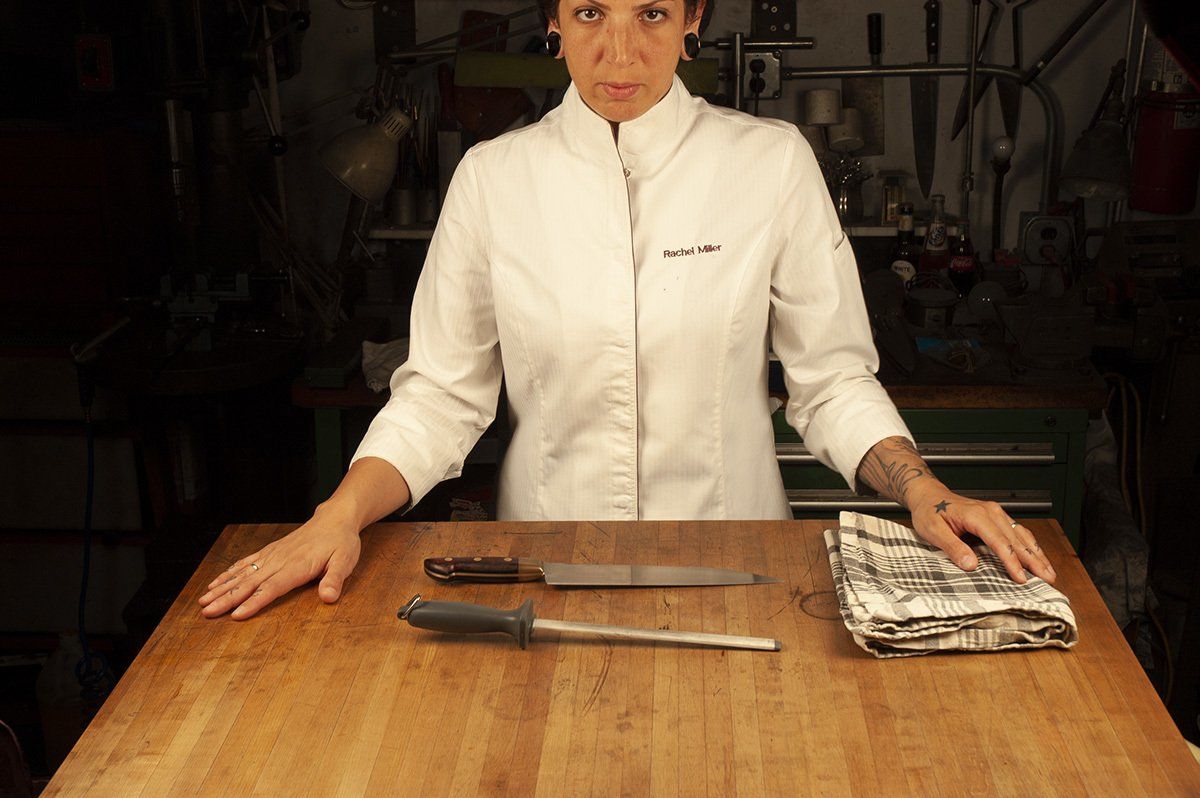
Step 5:Care
Keep your knife clean, dry, and ideally, out on the cutting board . Hone regularly.
If your knife is stainless, use very light strokes on a fine abrasive honing rod (ceramic or diamond coated) taking care to cover the entire length of the blade's edge evenly and hold a constant angle (a tiny bit more open than the angle at which the edge of your knife is sharpened (yes, you should find out what that edge angle is...)
If your knife is Carbon steel, use firmer strokes and a traditional butcher’s steel (very hard steel with longitudinal striations) and try to hold close to the edge angle of the knife.
If you’re inclined, learn to sharpen on a whetstone. There are a number of resources that demonstrate this process and while there is a bit of a learning curve, it will come quickly if you devote a small amount of time every day for a few weeks, and return the satisfaction of razor sharp edges whenever you need them.
The more you invest in your knife, from thoughtful choice to skillful use, to practiced care, the more it will return in terms of the pleasure of using an amazing tool and the satisfaction of improving your culinary experience in every way.